HP MegaZoom Mega-Post!!!-group-therapy-thread/?action=dlattach;attach=1560814;image) SQWEEEEEEEEEEE!!!
SQWEEEEEEEEEEE!!!
mnem
*scurries off badger-like into the dwagon-cave*
When last we looked in on our intrepid tinkerdwagon, he'd just received a little carton of joy from the Bay of Fleas...
-group-therapy-thread/?action=dlattach;attach=1561303;image)
Let's see what he's got.
*cues up stripperella music*-group-therapy-thread/?action=dlattach;attach=1561309;image)
Oh yeah, that's it... take it off...
-group-therapy-thread/?action=dlattach;attach=1561315;image)
take it
all off...

-group-therapy-thread/?action=dlattach;attach=1561321;image) *sighs and bites lip*
*sighs and bites lip* oh you tease...
-group-therapy-thread/?action=dlattach;attach=1561327;image)
Oh fuck me with a gawddamn shovel. You have
got to be fucking kidding me!!!
Tested working my big bouncy dragon testicles!!!
-group-therapy-thread/?action=dlattach;attach=1230392;image)
Jeebus they sure used enough eBay tape; maybe they think it's magic, and somehow a substitute for properly packing a monitor so shit doesn't get broken off...?

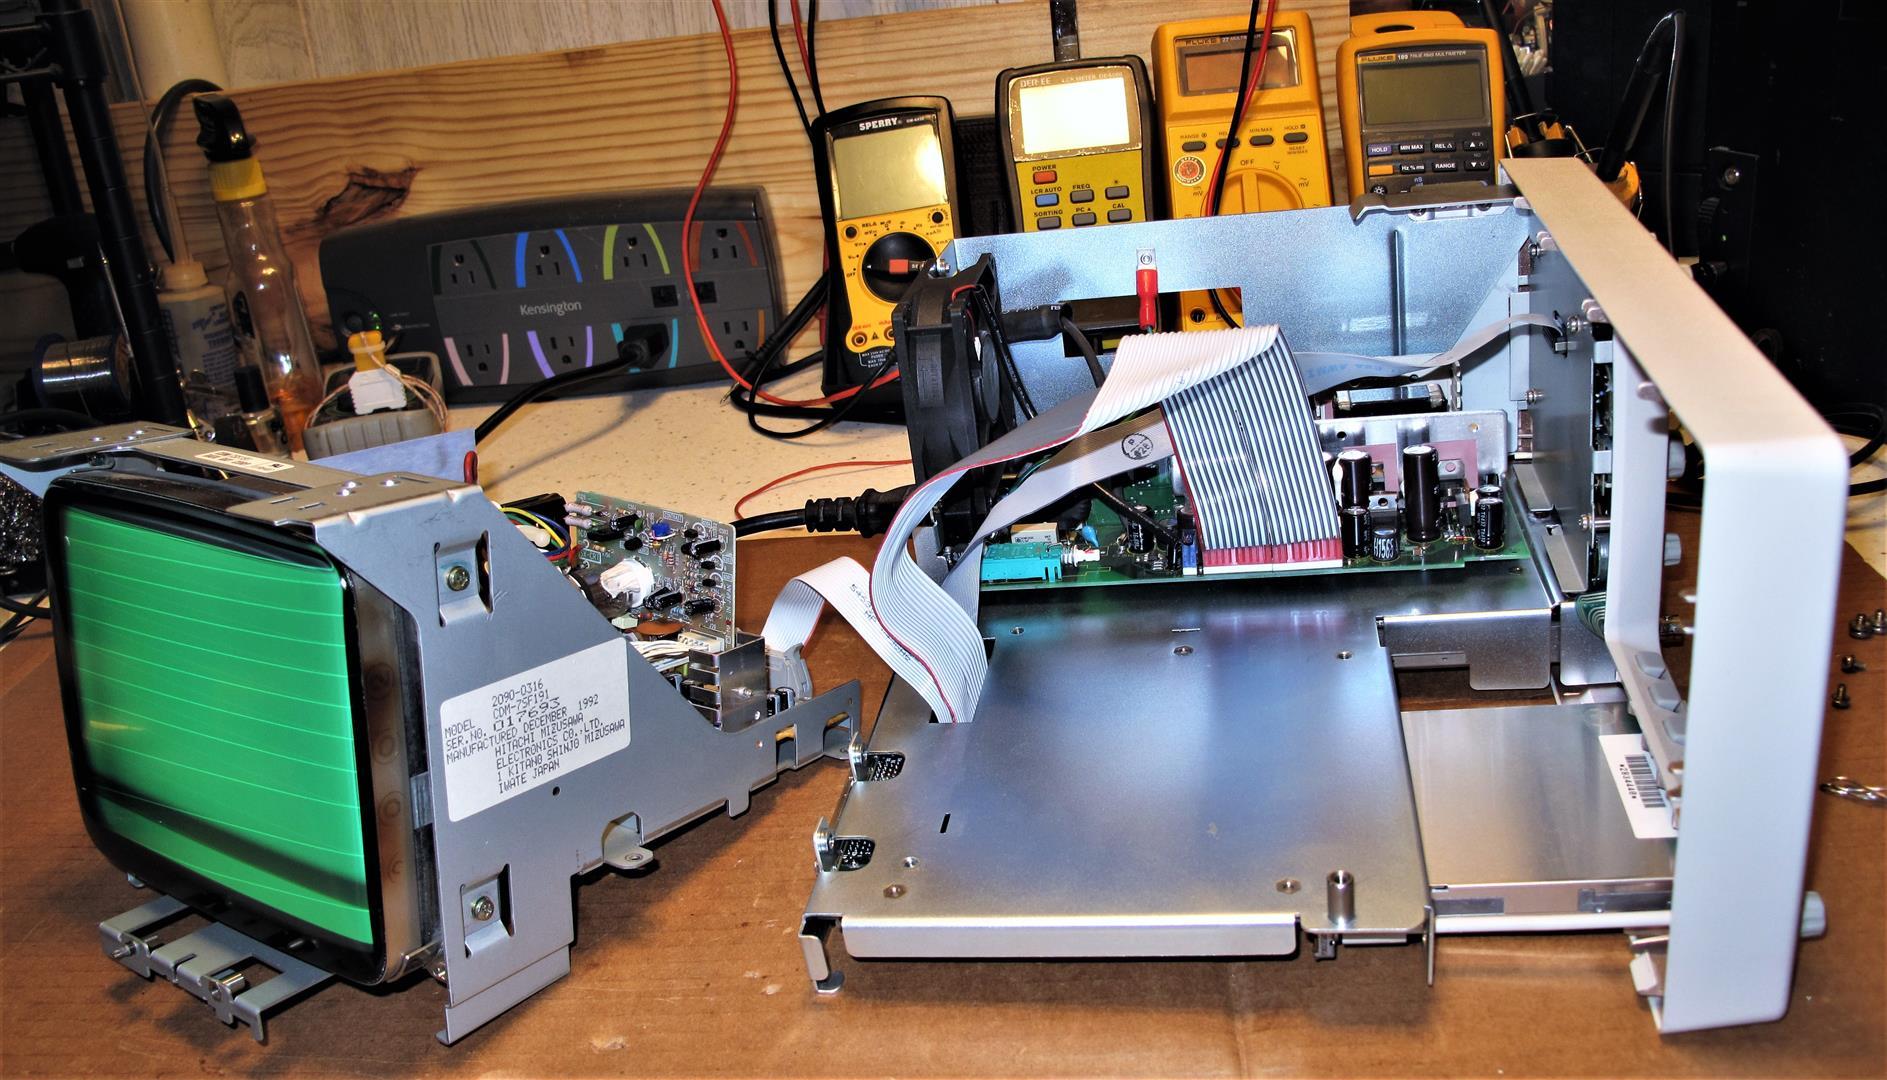
What the hey; maybe there is some magic there. Might as well pop the CRT PCB on there & test it; takes but a minute to plug the stoopit thing in.

-group-therapy-thread/?action=dlattach;attach=1561333;image) Well HELL! It WORKS!
Well HELL! It WORKS! 
And no error messages aboot the memory battery!

So... now a little boring disassembly work to clean the thing and get ready for the next phase; while I'm in there I see some fresh soldering on a big ballast resistor and what looks like a cap replaced.

Hmmmm... Now if this were me shipping the thing and I'd had to take it apart to fix it... I might leave the neck board off and anchored with gaffer tape or a wrapped in a wad of bubble wrap to ensure the CRT arrived in one piece without the evac nipple broken off like the one this is replacing. I'd probably leave a note to that effect for the customer though...

Is it reasonable to suppose that
any fleaBay vendor was actually this circumspect...?

So, while I'm working on this, I dismantle both the CDM-7SX191 and CDM-7SF191 monitors; after comparing the two mainboards side by side til my eyes watered, I couldn't find any material difference between them. While the layouts appear different between the two mainboards, the component list appears the same.
Voltages at the ribbon cable also appeared comparable aside from those I expected to be different due to the VGA analog video, but I'd literally need to draw out the entire schematic for both monitors to be sure.
I didn't have time or energy for that tonight, so I took one for the team and just swapped the CRT neck board over and tried it.

Franken-monitor is no joy; it is
not possible to make a CDM-7SF191 serve as a CDM-7SX191 just by swapping the CRT neck PCB.

-group-therapy-thread/?action=dlattach;attach=1561339;image)
So once I reassemble the two monitors correctly and reassemble the 54600A and the 54621D, it is time for the next part of my cunning plan: To test the IDE cable & HP pods I'd made for my LeSiglent T3DSO2102 with the 54621D. Yes, it
works, and the whip leads are all even correctly identified! w00t!

-group-therapy-thread/?action=dlattach;attach=1561345;image)
-group-therapy-thread/?action=dlattach;attach=1561351;image)
I just cannot take a picture that shows how delightfully crisp the traces and text are on this scope; the camera doesn't want to focus correctly without bleeding. If anything, it is clearer than the 54645A, and yet more information conveyed thanks to the grayscaling. Well-done HPAK!

-group-therapy-thread/?action=dlattach;attach=1561357;image)
And here's the family portrait... 3 generations of 546
xxx scope!

It's weird how serendipity brought exactly the right bits together to make these three scopes complete on my bench. The 54621D came without monitor or bail; but the bail on my 54645A is
Agilent branded, and I never use it anyways, as it lives on the wedge base I printed. DigiKey didn't want to play nice on the memory battery, but I already had one that was suitable, and the means to make it work... and another fun project. Two fun projects in one, actually.
As self-satisfied as pulling this all together on a shoestring budget makes me...
I will admit that it still niggles at me; not keeping my promise to eBay to send the carcass of that 54621D back.
I feel a bit of a dirty dwagon... but that does seem to fade
just a little more every time eBay smacks me in the face with
another complete muppet vendor that doesn't deliver what was advertised or who forgets my order for a week and a half...
 But wait... there's another fun project...

Snurching the bail from the 54645A meant I needed to fill some holes in it. I think the 3DP project I killed a afternoon with while waiting forever for that replacement monitor turned out very well, even if it did take 6 iterations to get something that would print this cleanly at 0.20 LH without supports.
And as always, for those who care full details and 3DP nerd stats are available over on the
3DP Thread...Welp... that brings my little HP party to a close... this one's a bit of a monster, so hope you had fun coming along for the ride. I think I'm gonna toddle off to bed and carefully inspect my eyelids for pinholes...

mnem
