This latest teardown will cover the heavily optioned 24XX such as the 2465 DMS which have options such as DMM and Counter/Trigger. It is a supplement and an addition to the vanilla 2465 teardown I documented in this thread back in July. My reasons for this supplement are two fold. First, the teardown of these beasts to either re-cap to PSU or service the fan motor is much more complex. And second, the fan motor in my 2465 DMS has developed a death screech and I need to pull the motor and service it.
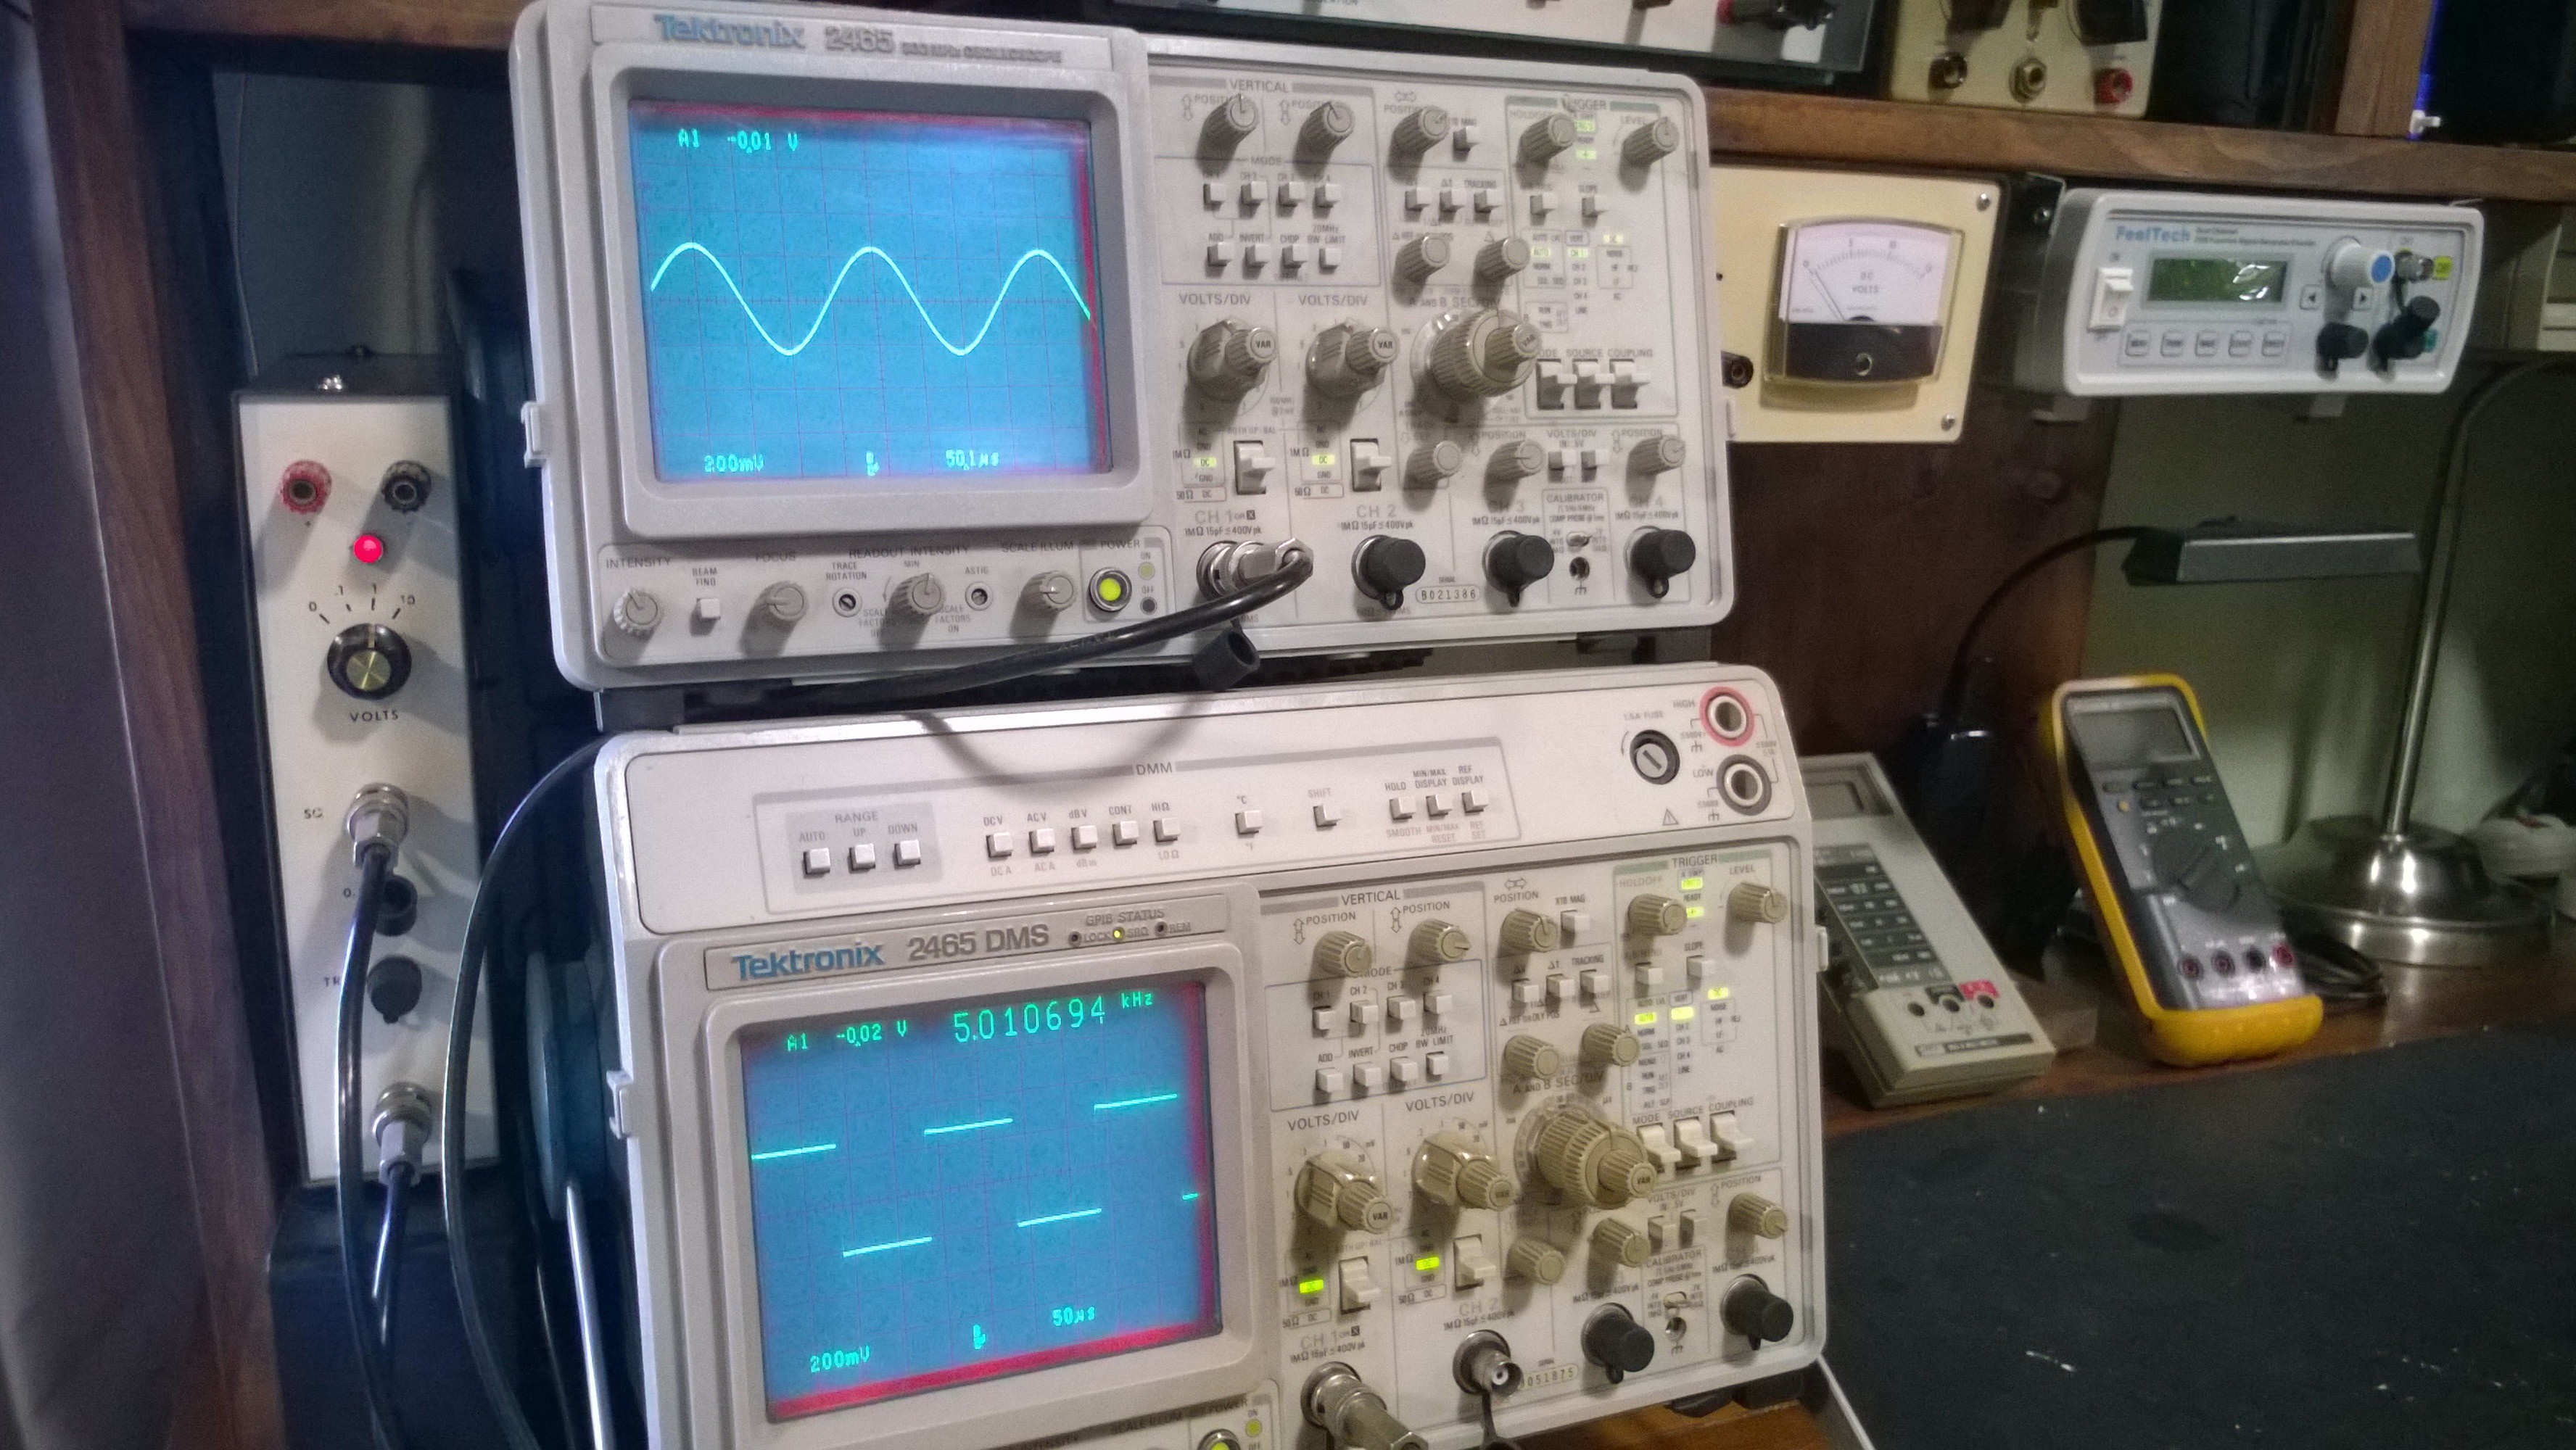
The candidate. The lower 2465 DMS. The top 2465 was the subject of the teardown in July for the PSU. The PSU in the 2465 DMS was done 2 years ago and at that time the fan motor was sometimes noisy but usually quieted down after about 20 minutes or so. In retrospect I should have serviced it then because now I have no choice but to rip it apart again. But the benefit is others will see how it's done and how much more complex it is. This 2465 DMS has the following options:
Option 01: 4.5 digit DMM
Option 09: Counter/Trigger/Timer with 17-bit Word Recognizer
Option 10: GPIB Interface
On the surface it doesn't seem like a lot but in reality there is a lot of additional circuit boards and interconnects as this teardown will reveal. After all, we are dealing with 1980's technology with much less device density which results in higher component count. So the first section we'll start with the cage fan and DMM board removal. Section 2 will deal with the top plate removal and all the interconnects. Section 3 will deal with the fan motor itself and reassembly.
Once the covers are removed the first order of business is the cage fan if you have an older 2465. Newer 2465A and B have a computer type fan so you can skip this part. For more complete info on how to remove this cage fan see here:
https://www.eevblog.com/forum/testgear/tektronix-2465b-oscilloscope-teardown/msg1658102/#msg1658102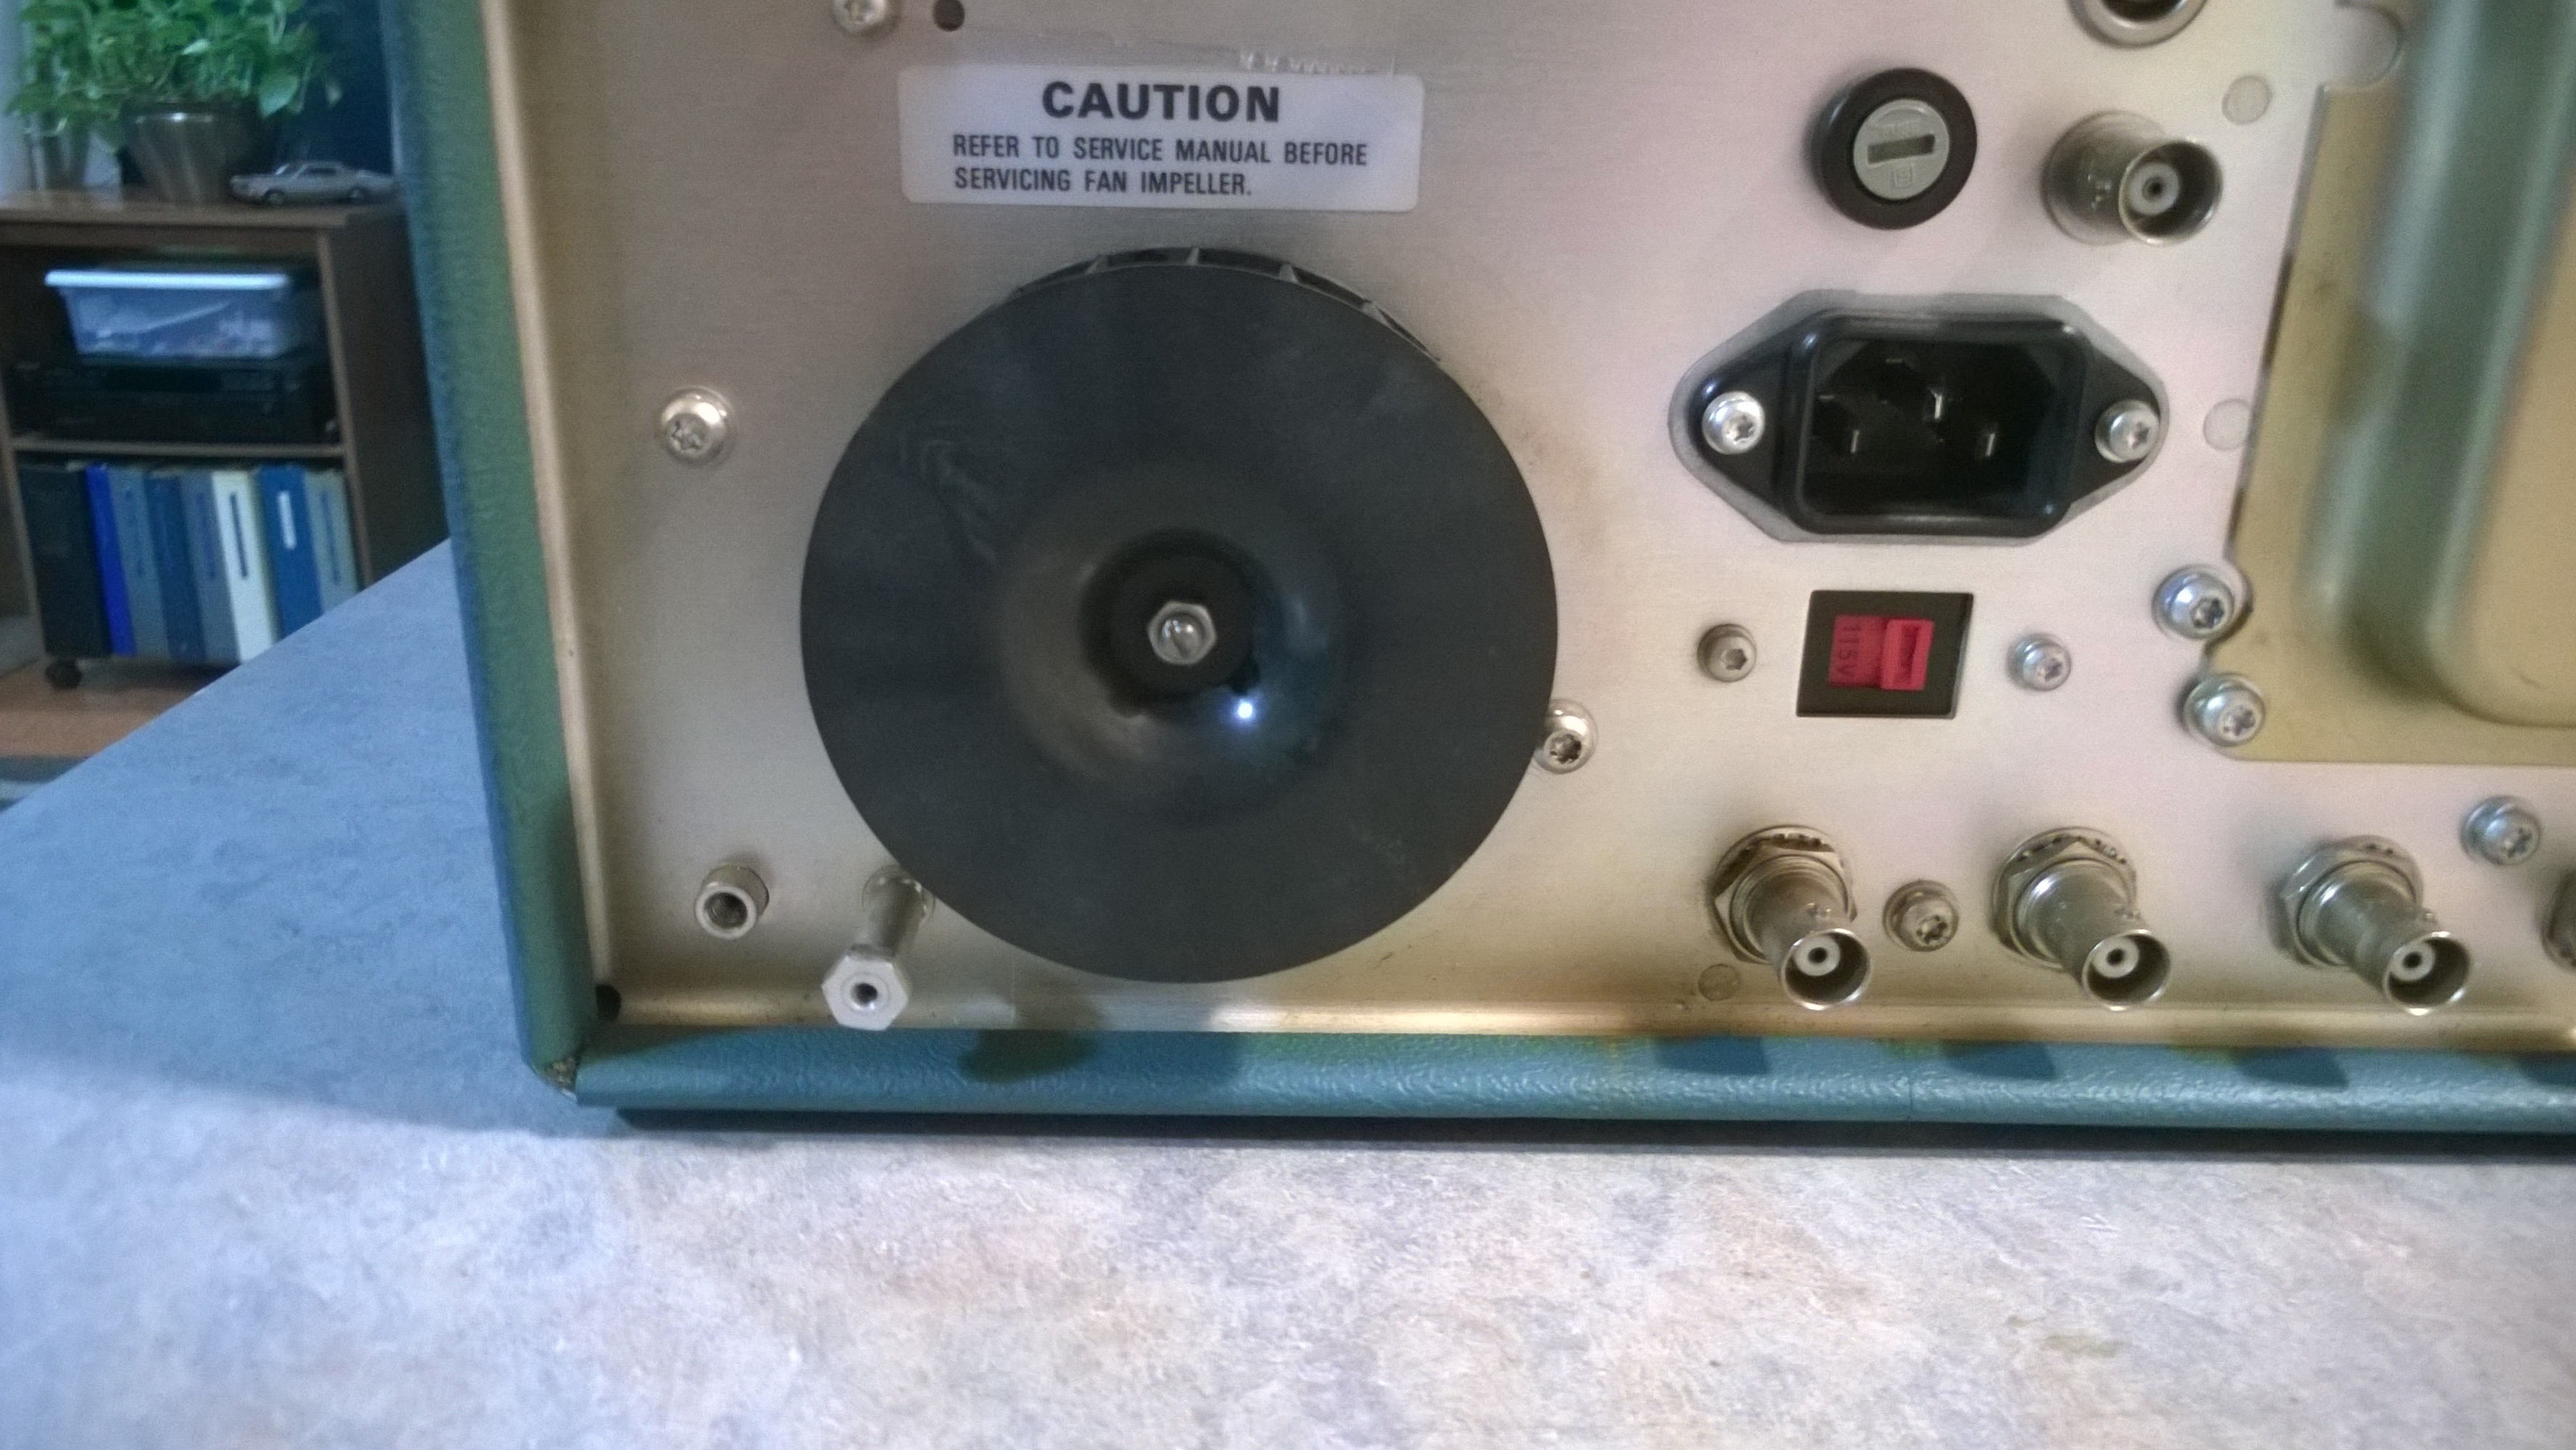
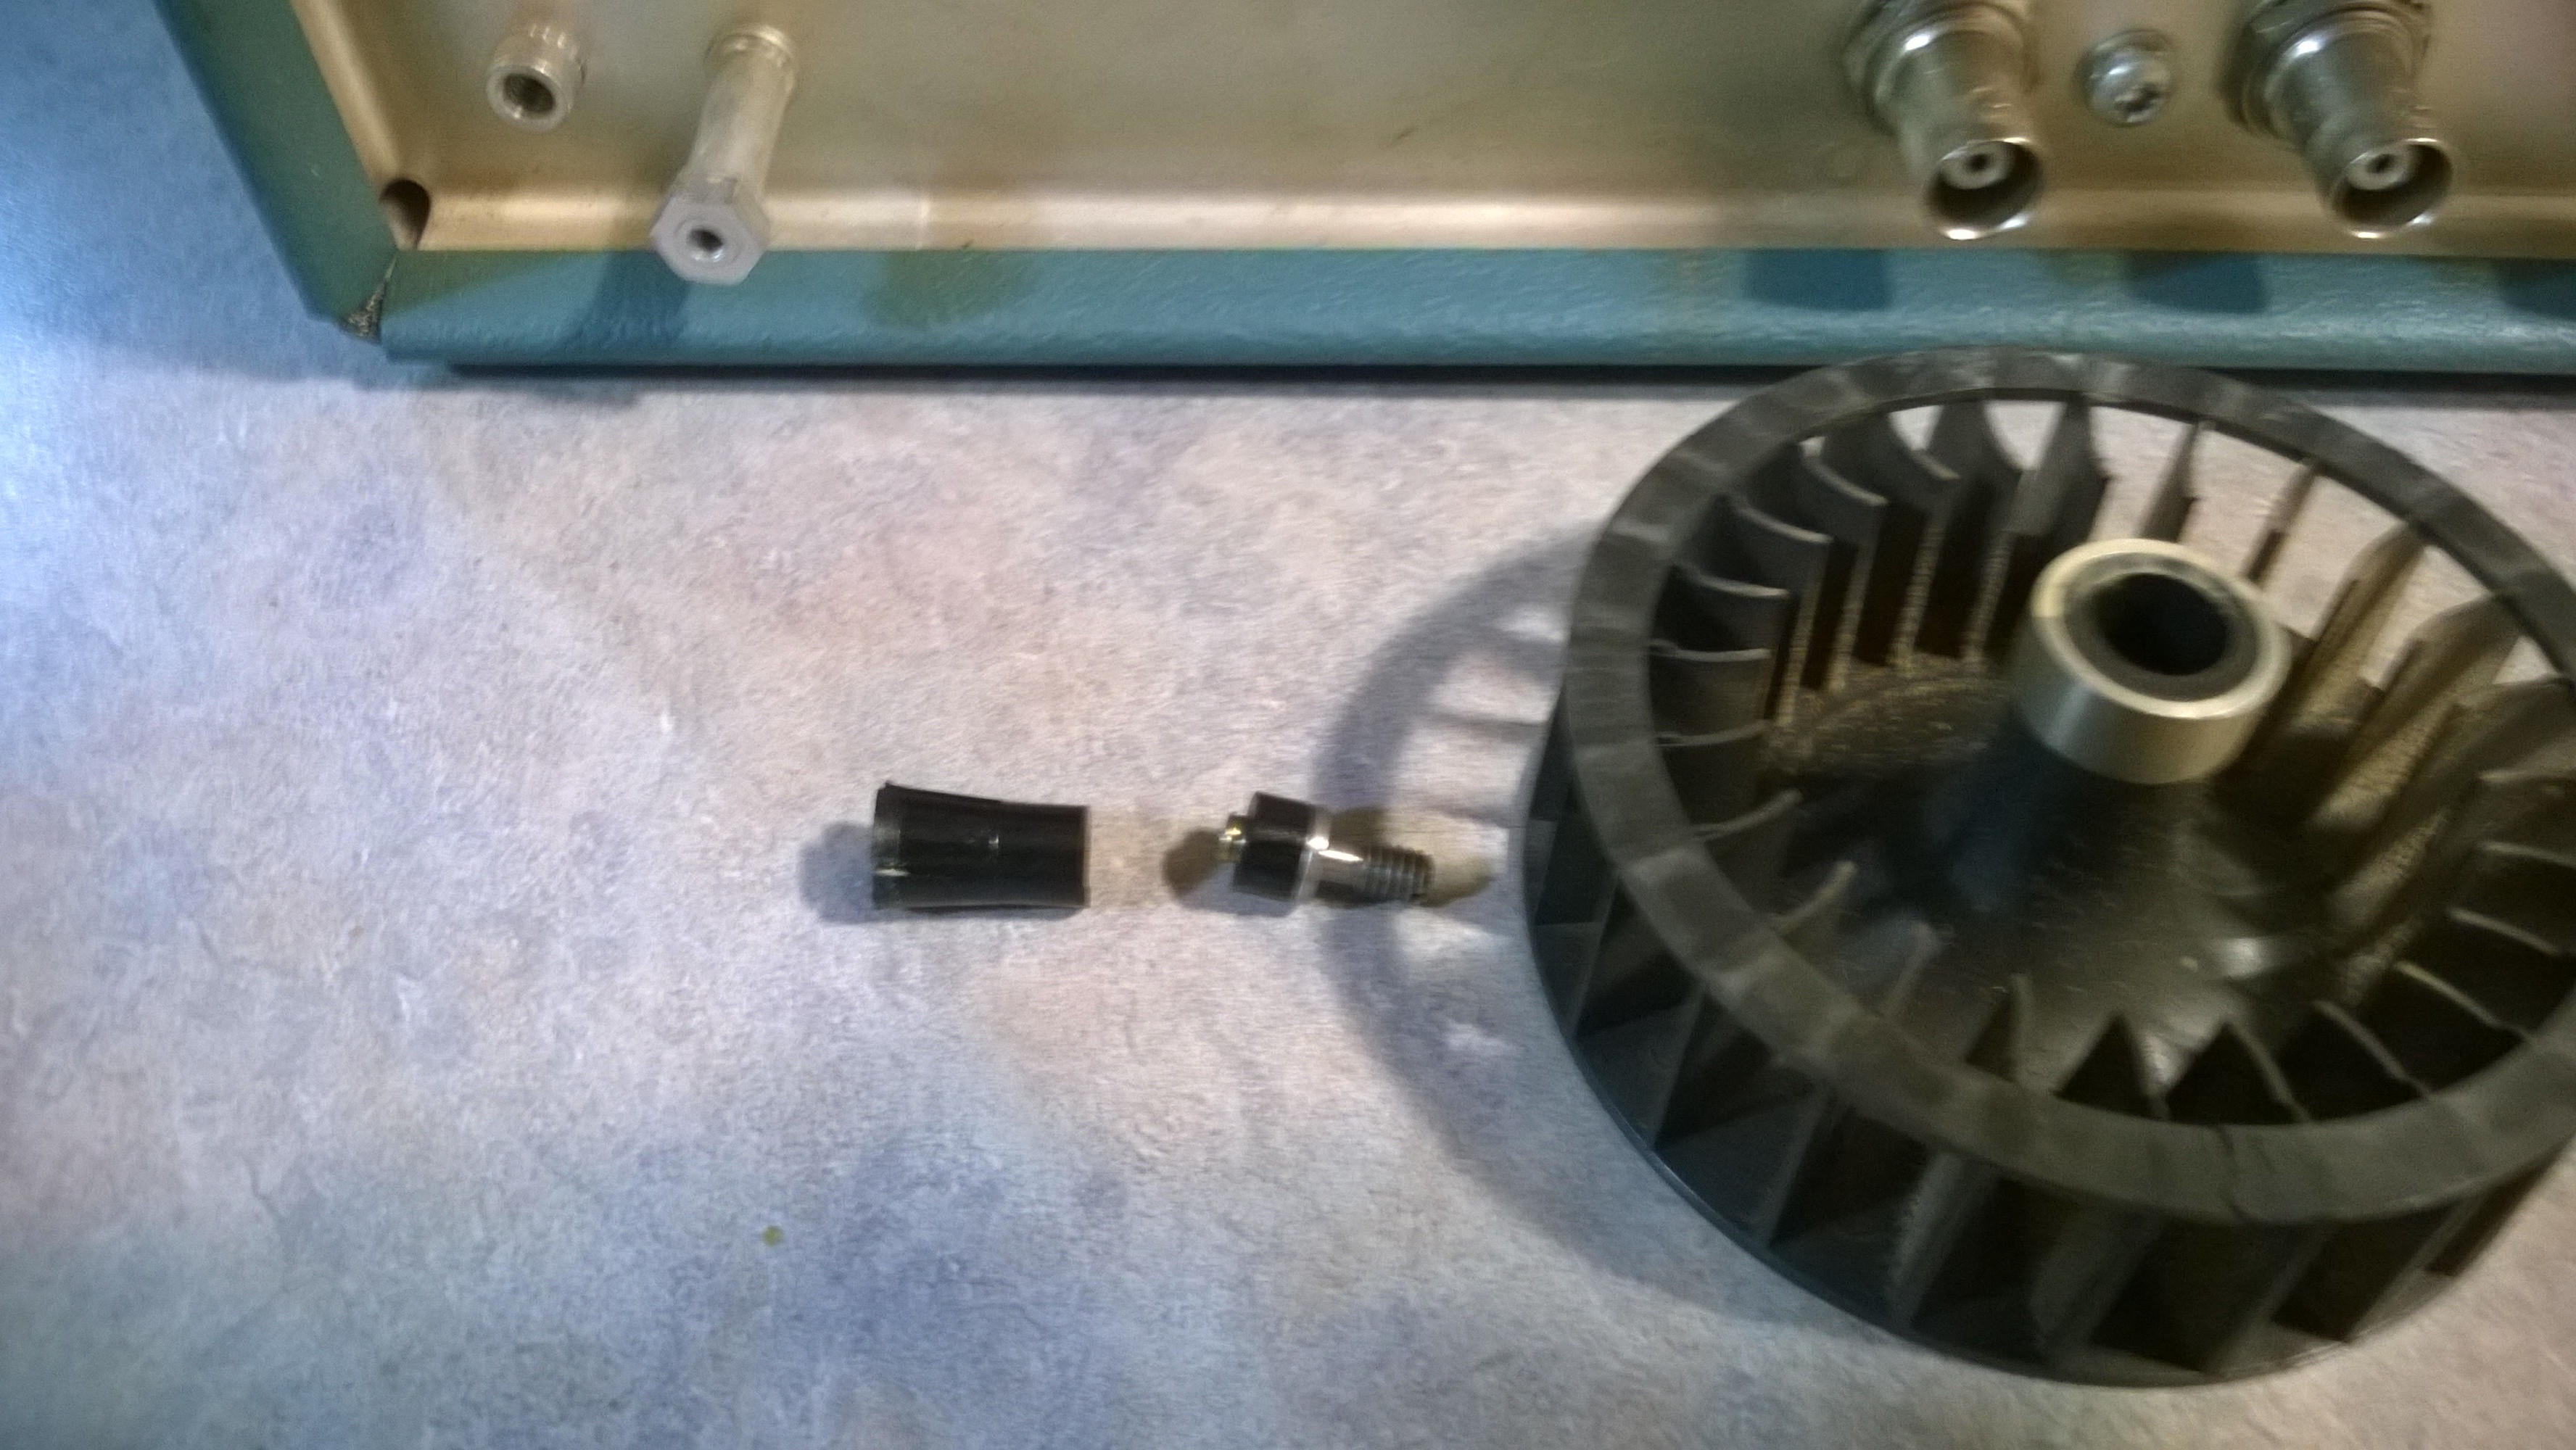
Here's an example of the inner collet snapping in half when attempting to pull the fan off the shaft. It's no big deal. Either epoxy or cyanoacrylate (super glue) will fix it right up.
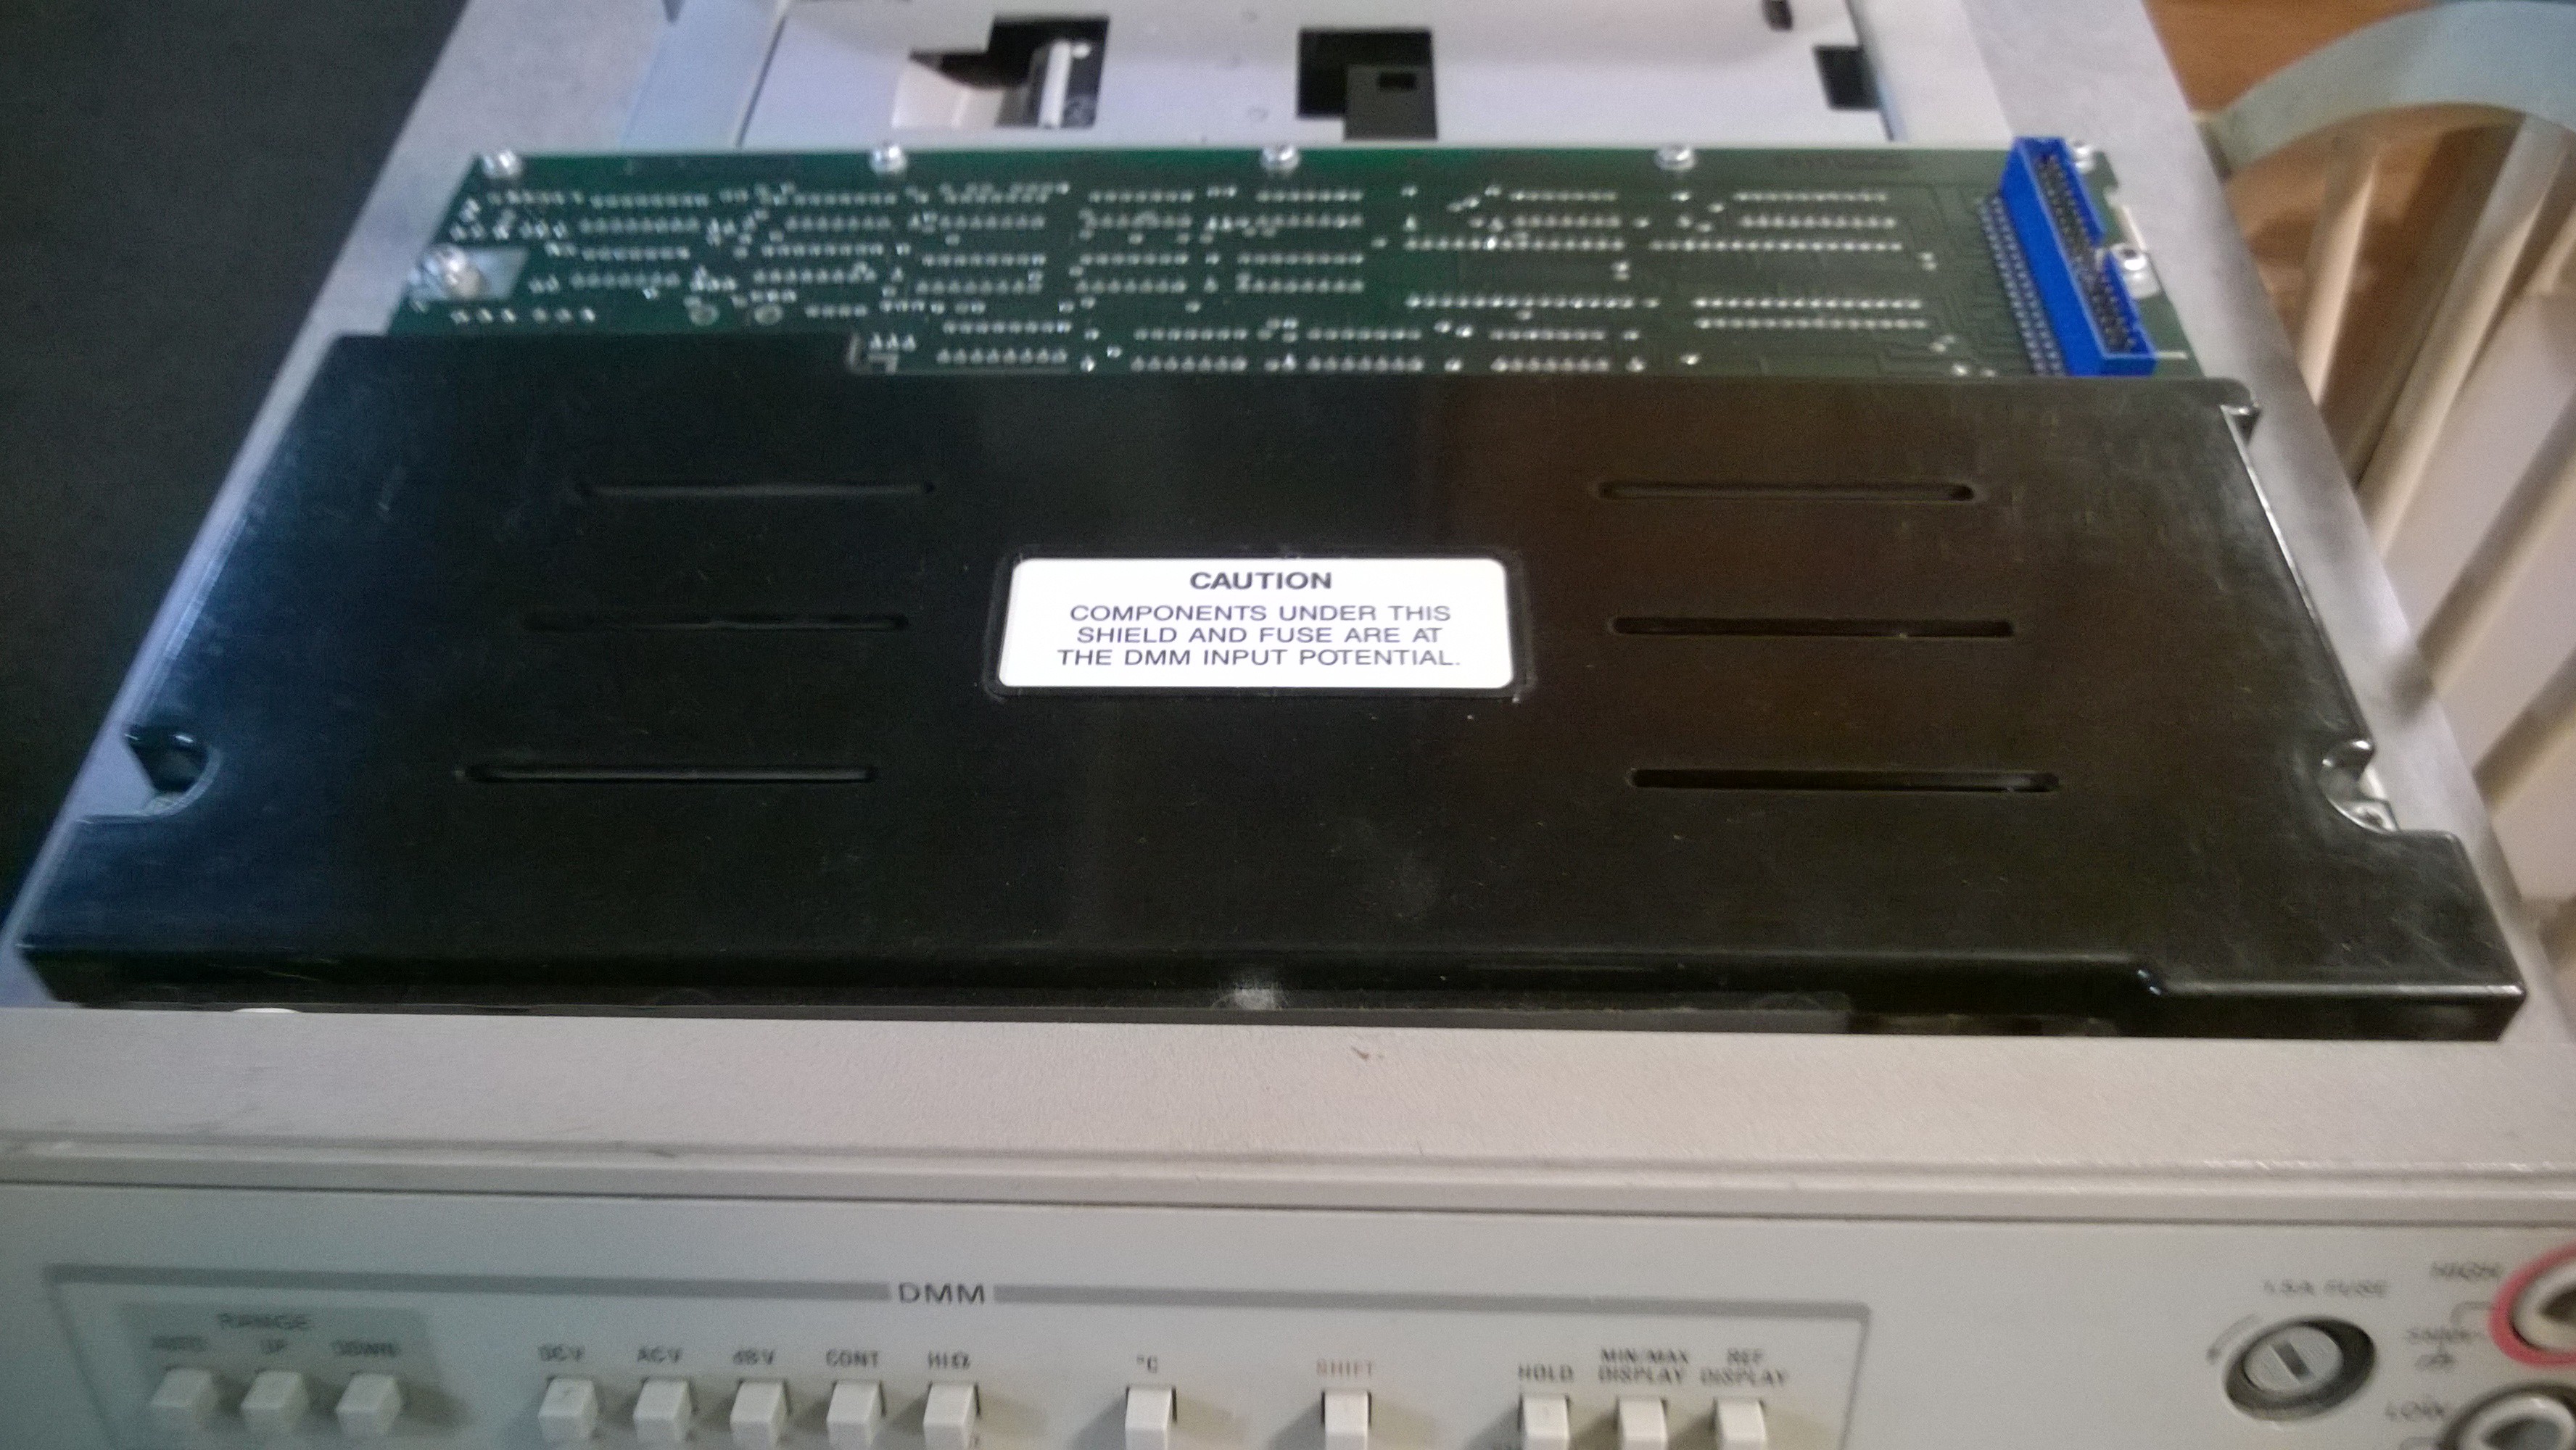
The DMM Board must be completely removed. Remove the 2 screws on the left side.
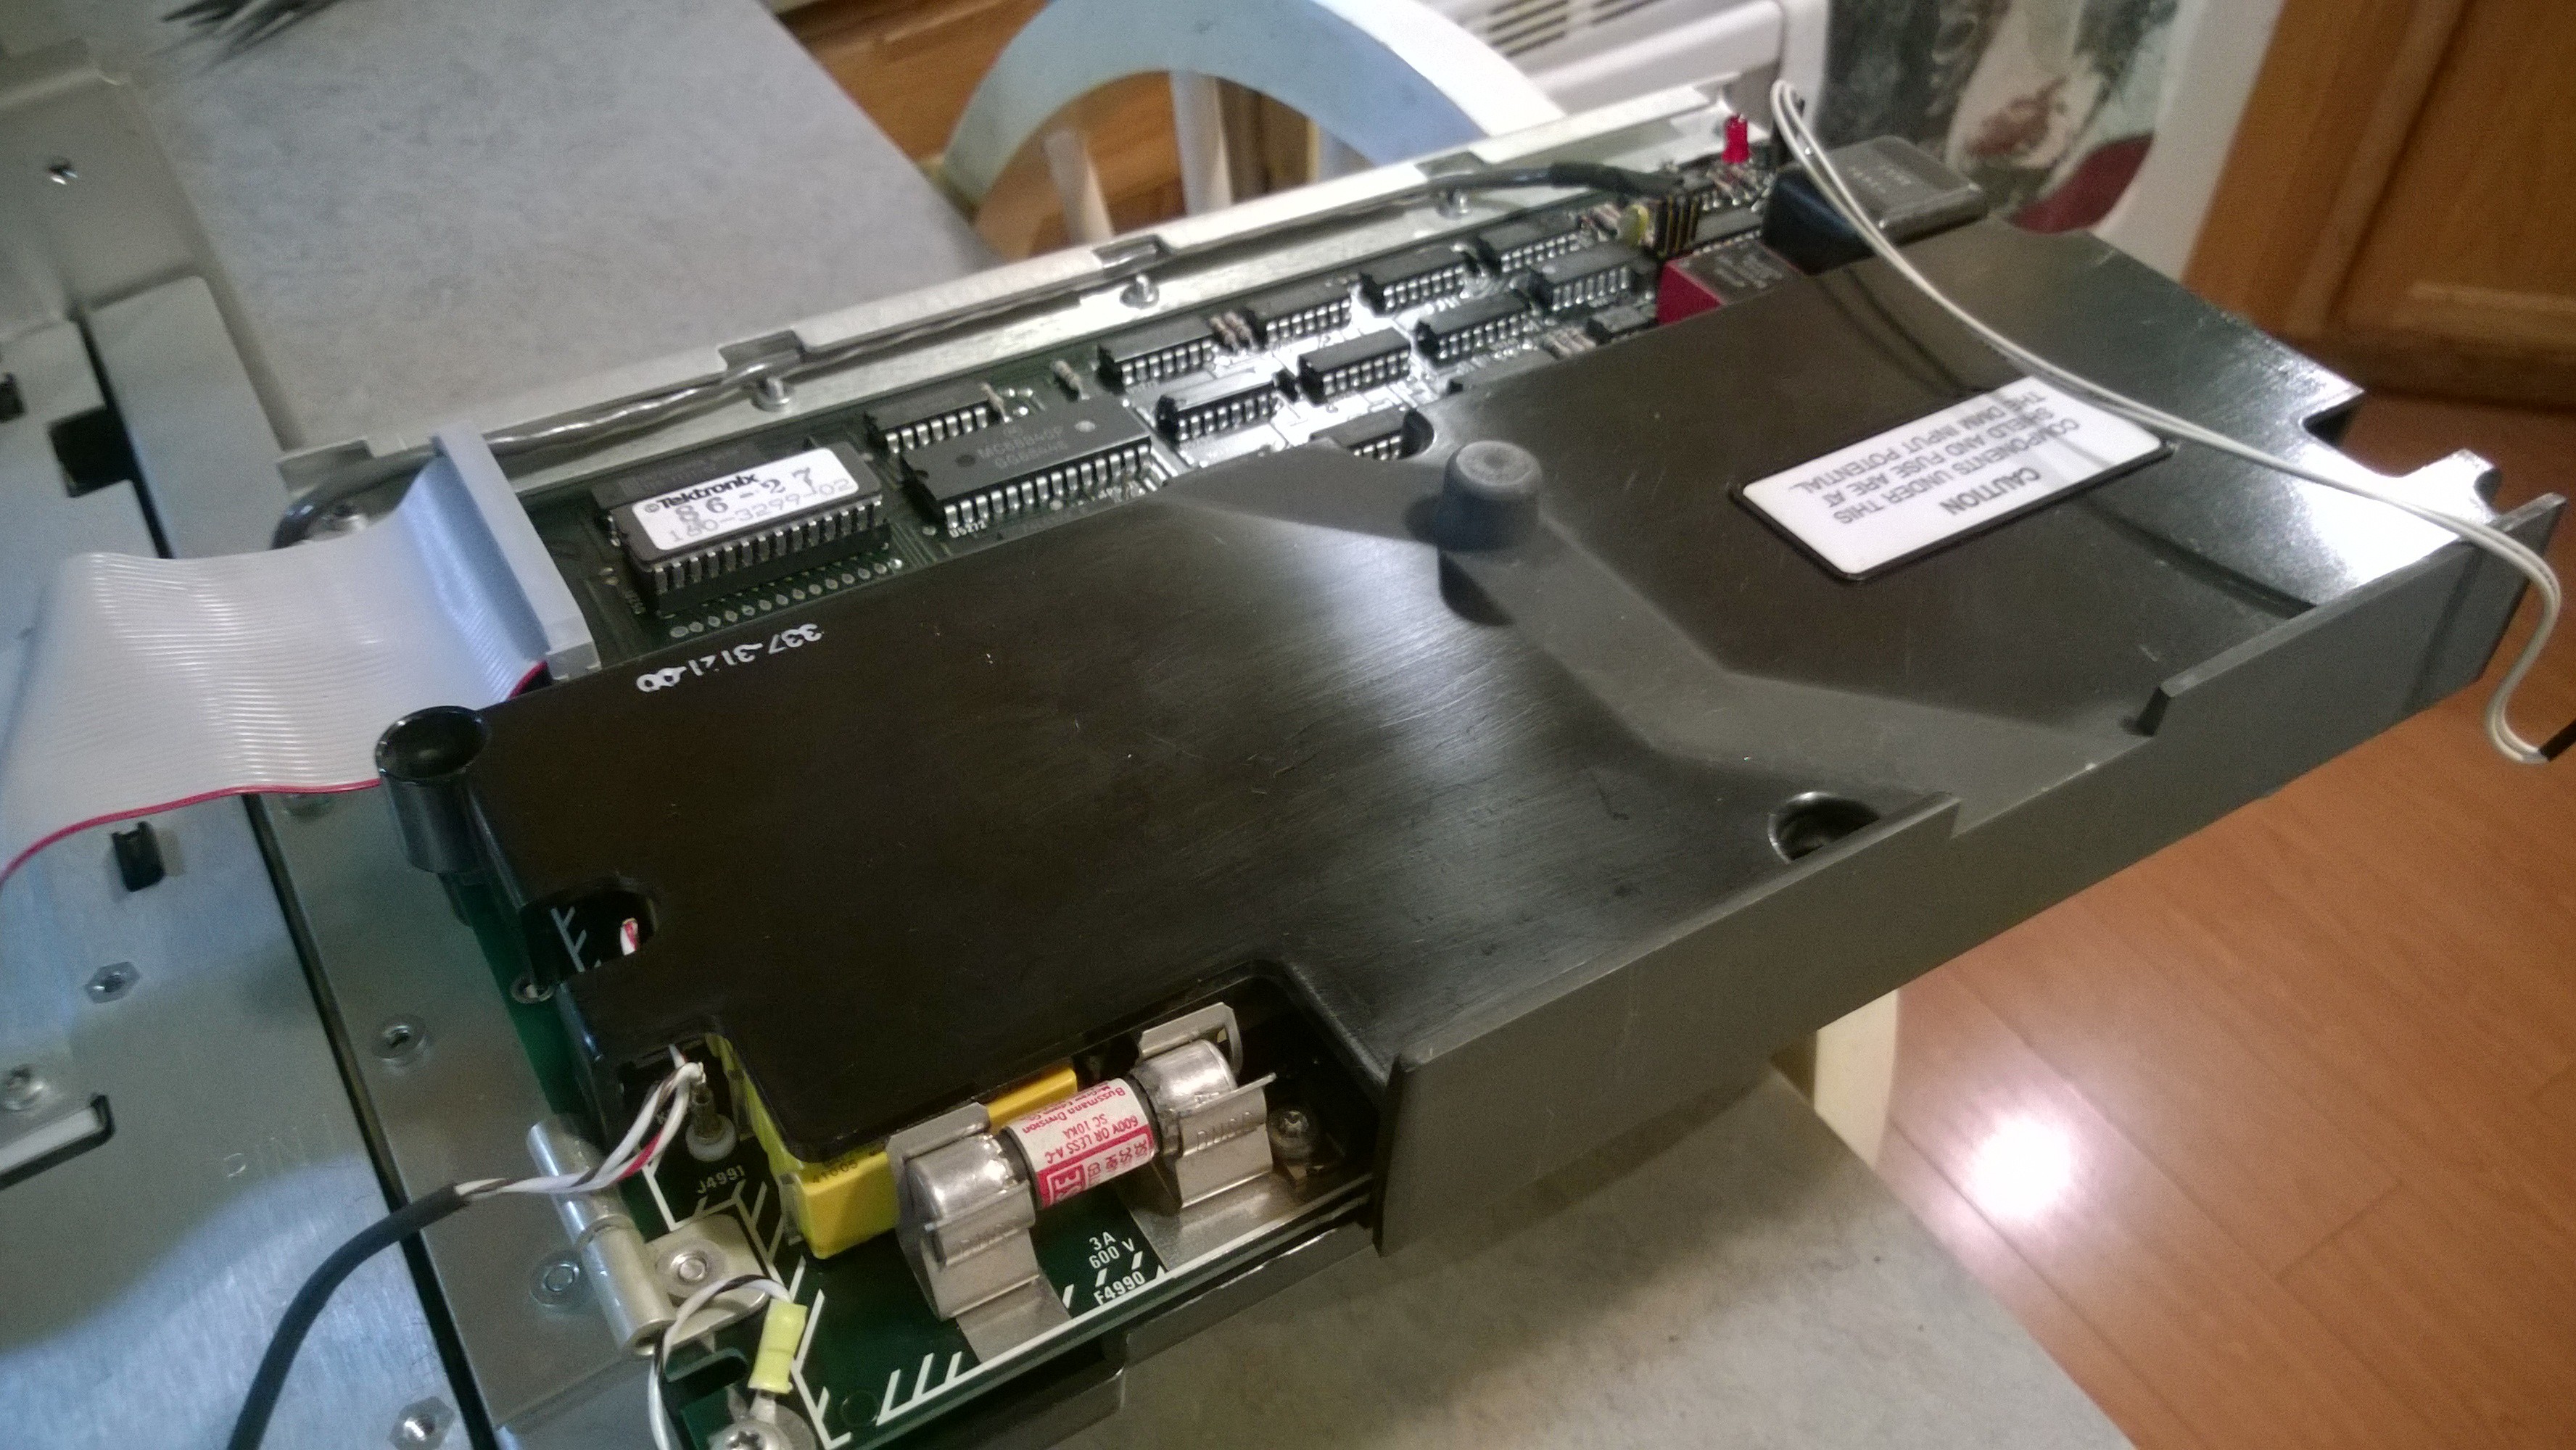
Now swing the board completely to the right. The white cable is to the beeper on the front panel that will unplug as you swing the board over.
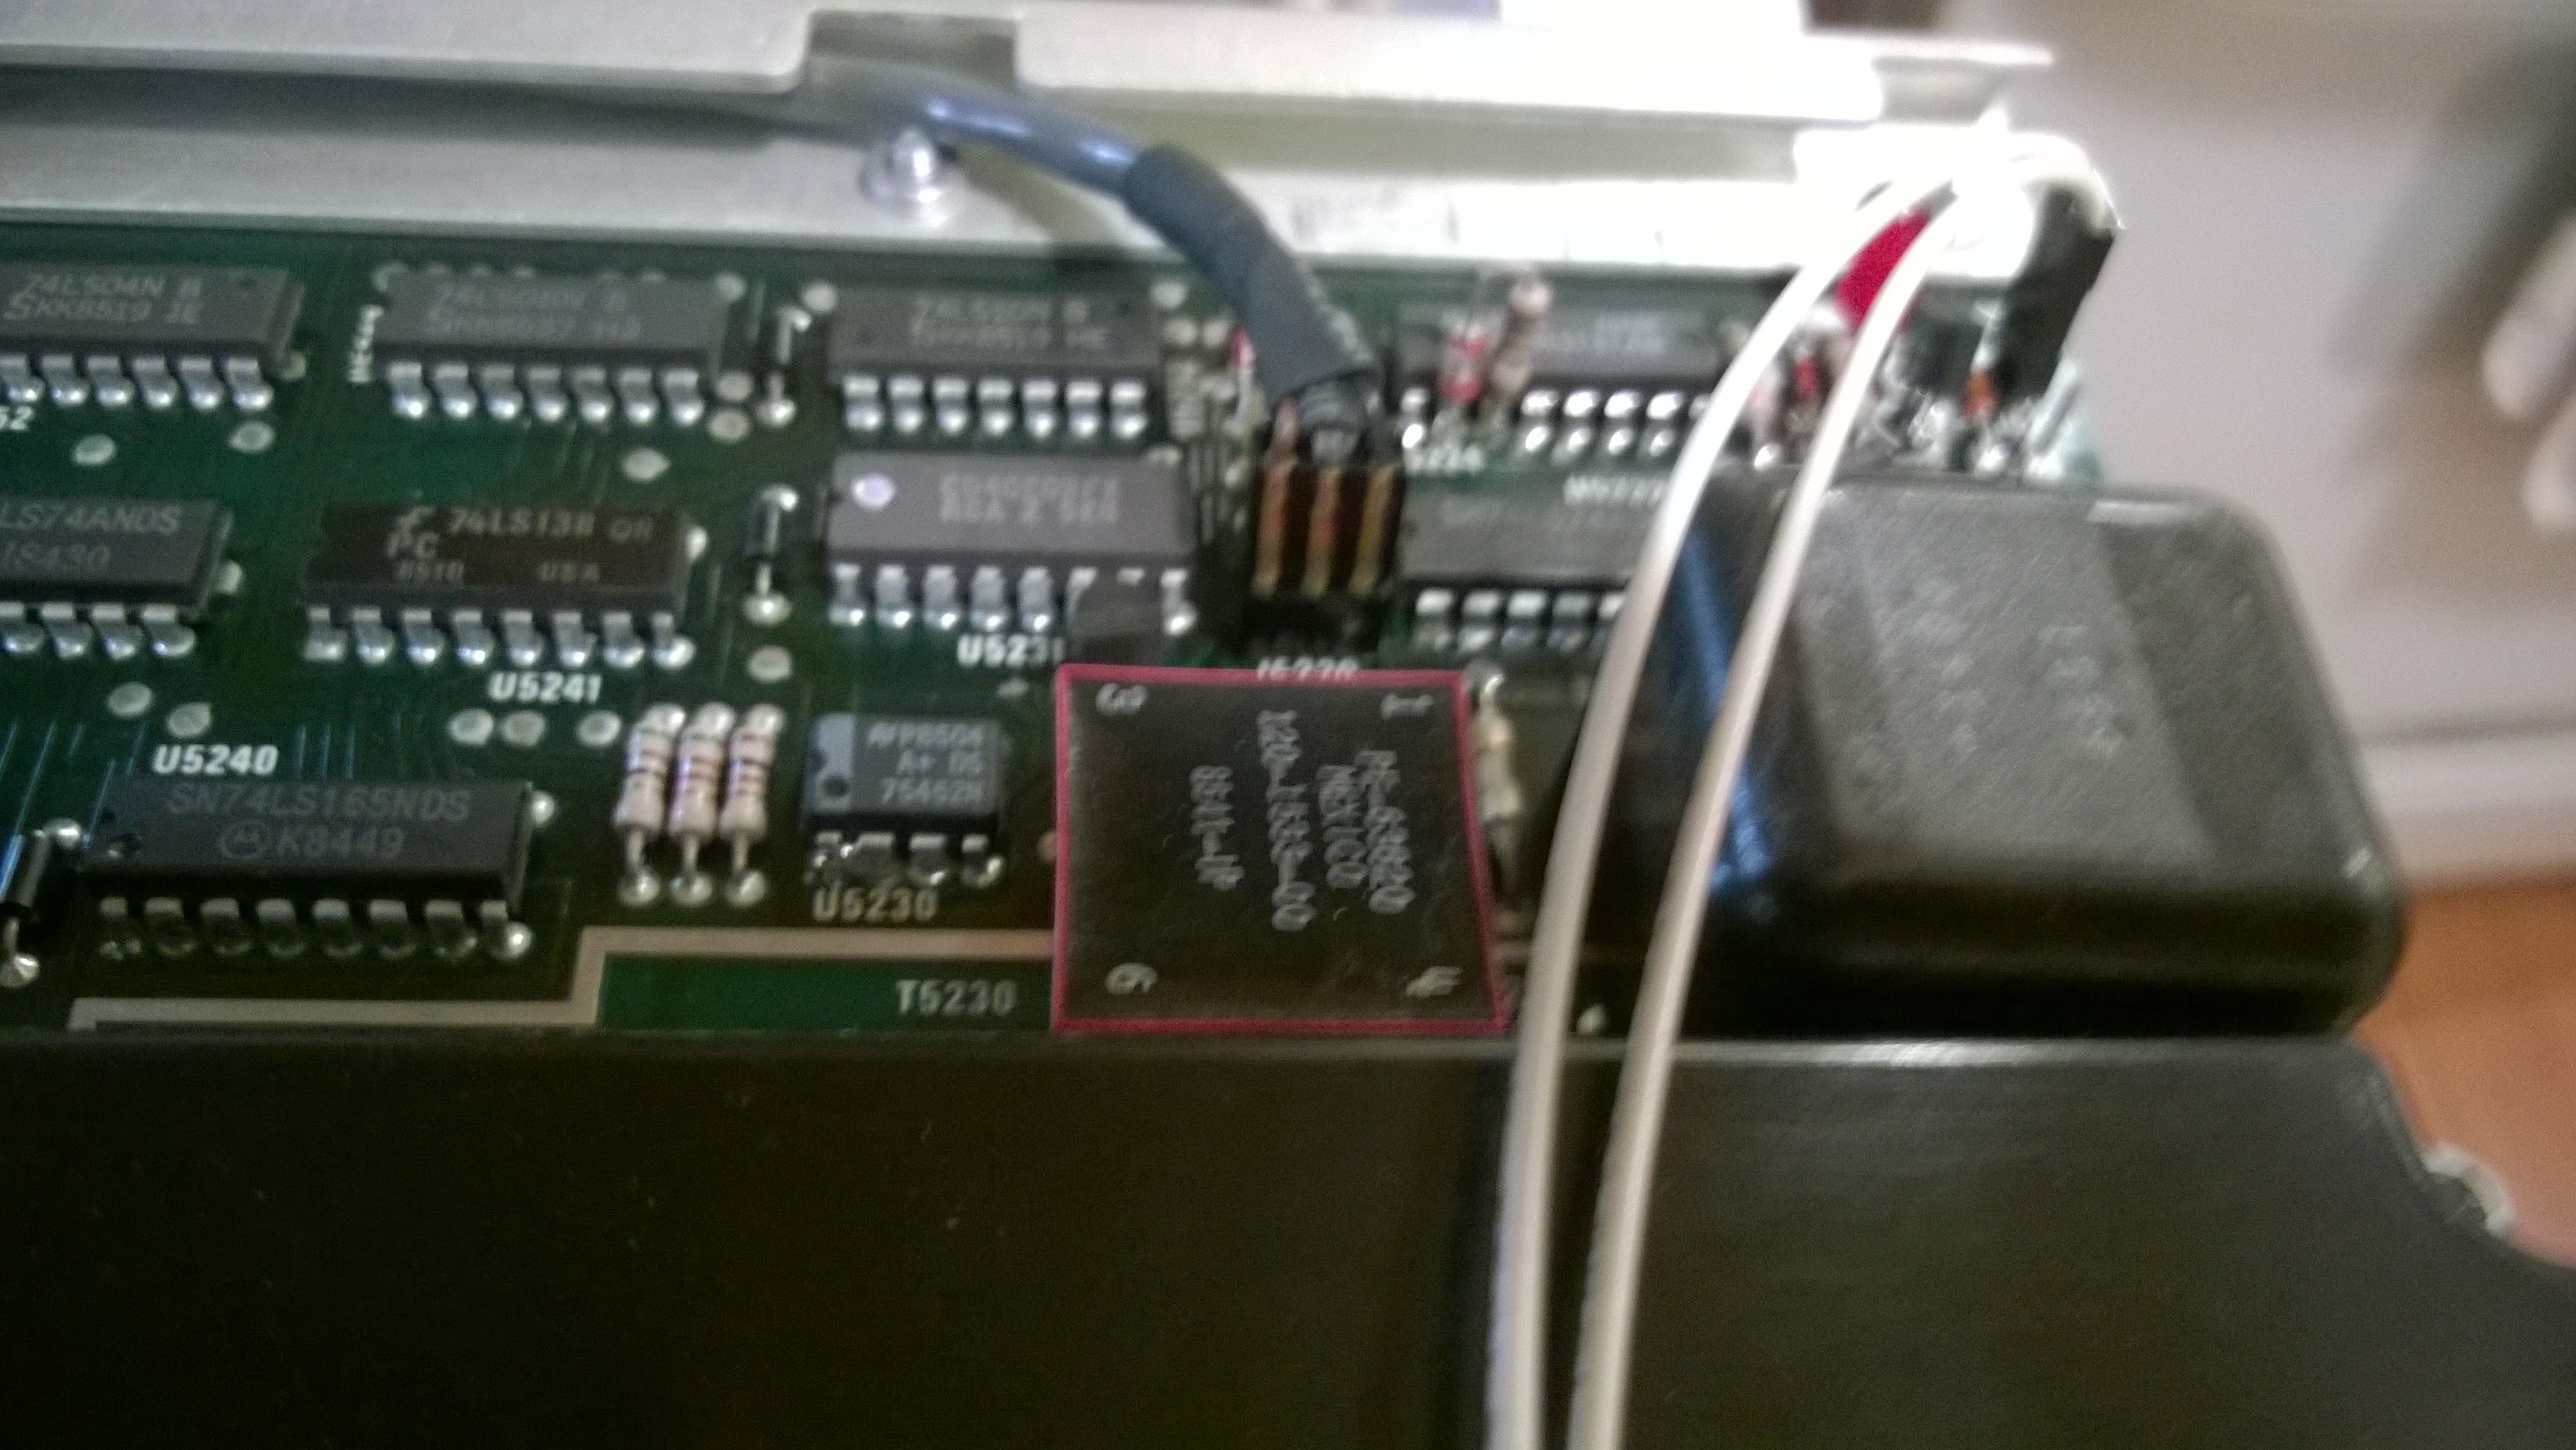
Pull the connector on the far right.
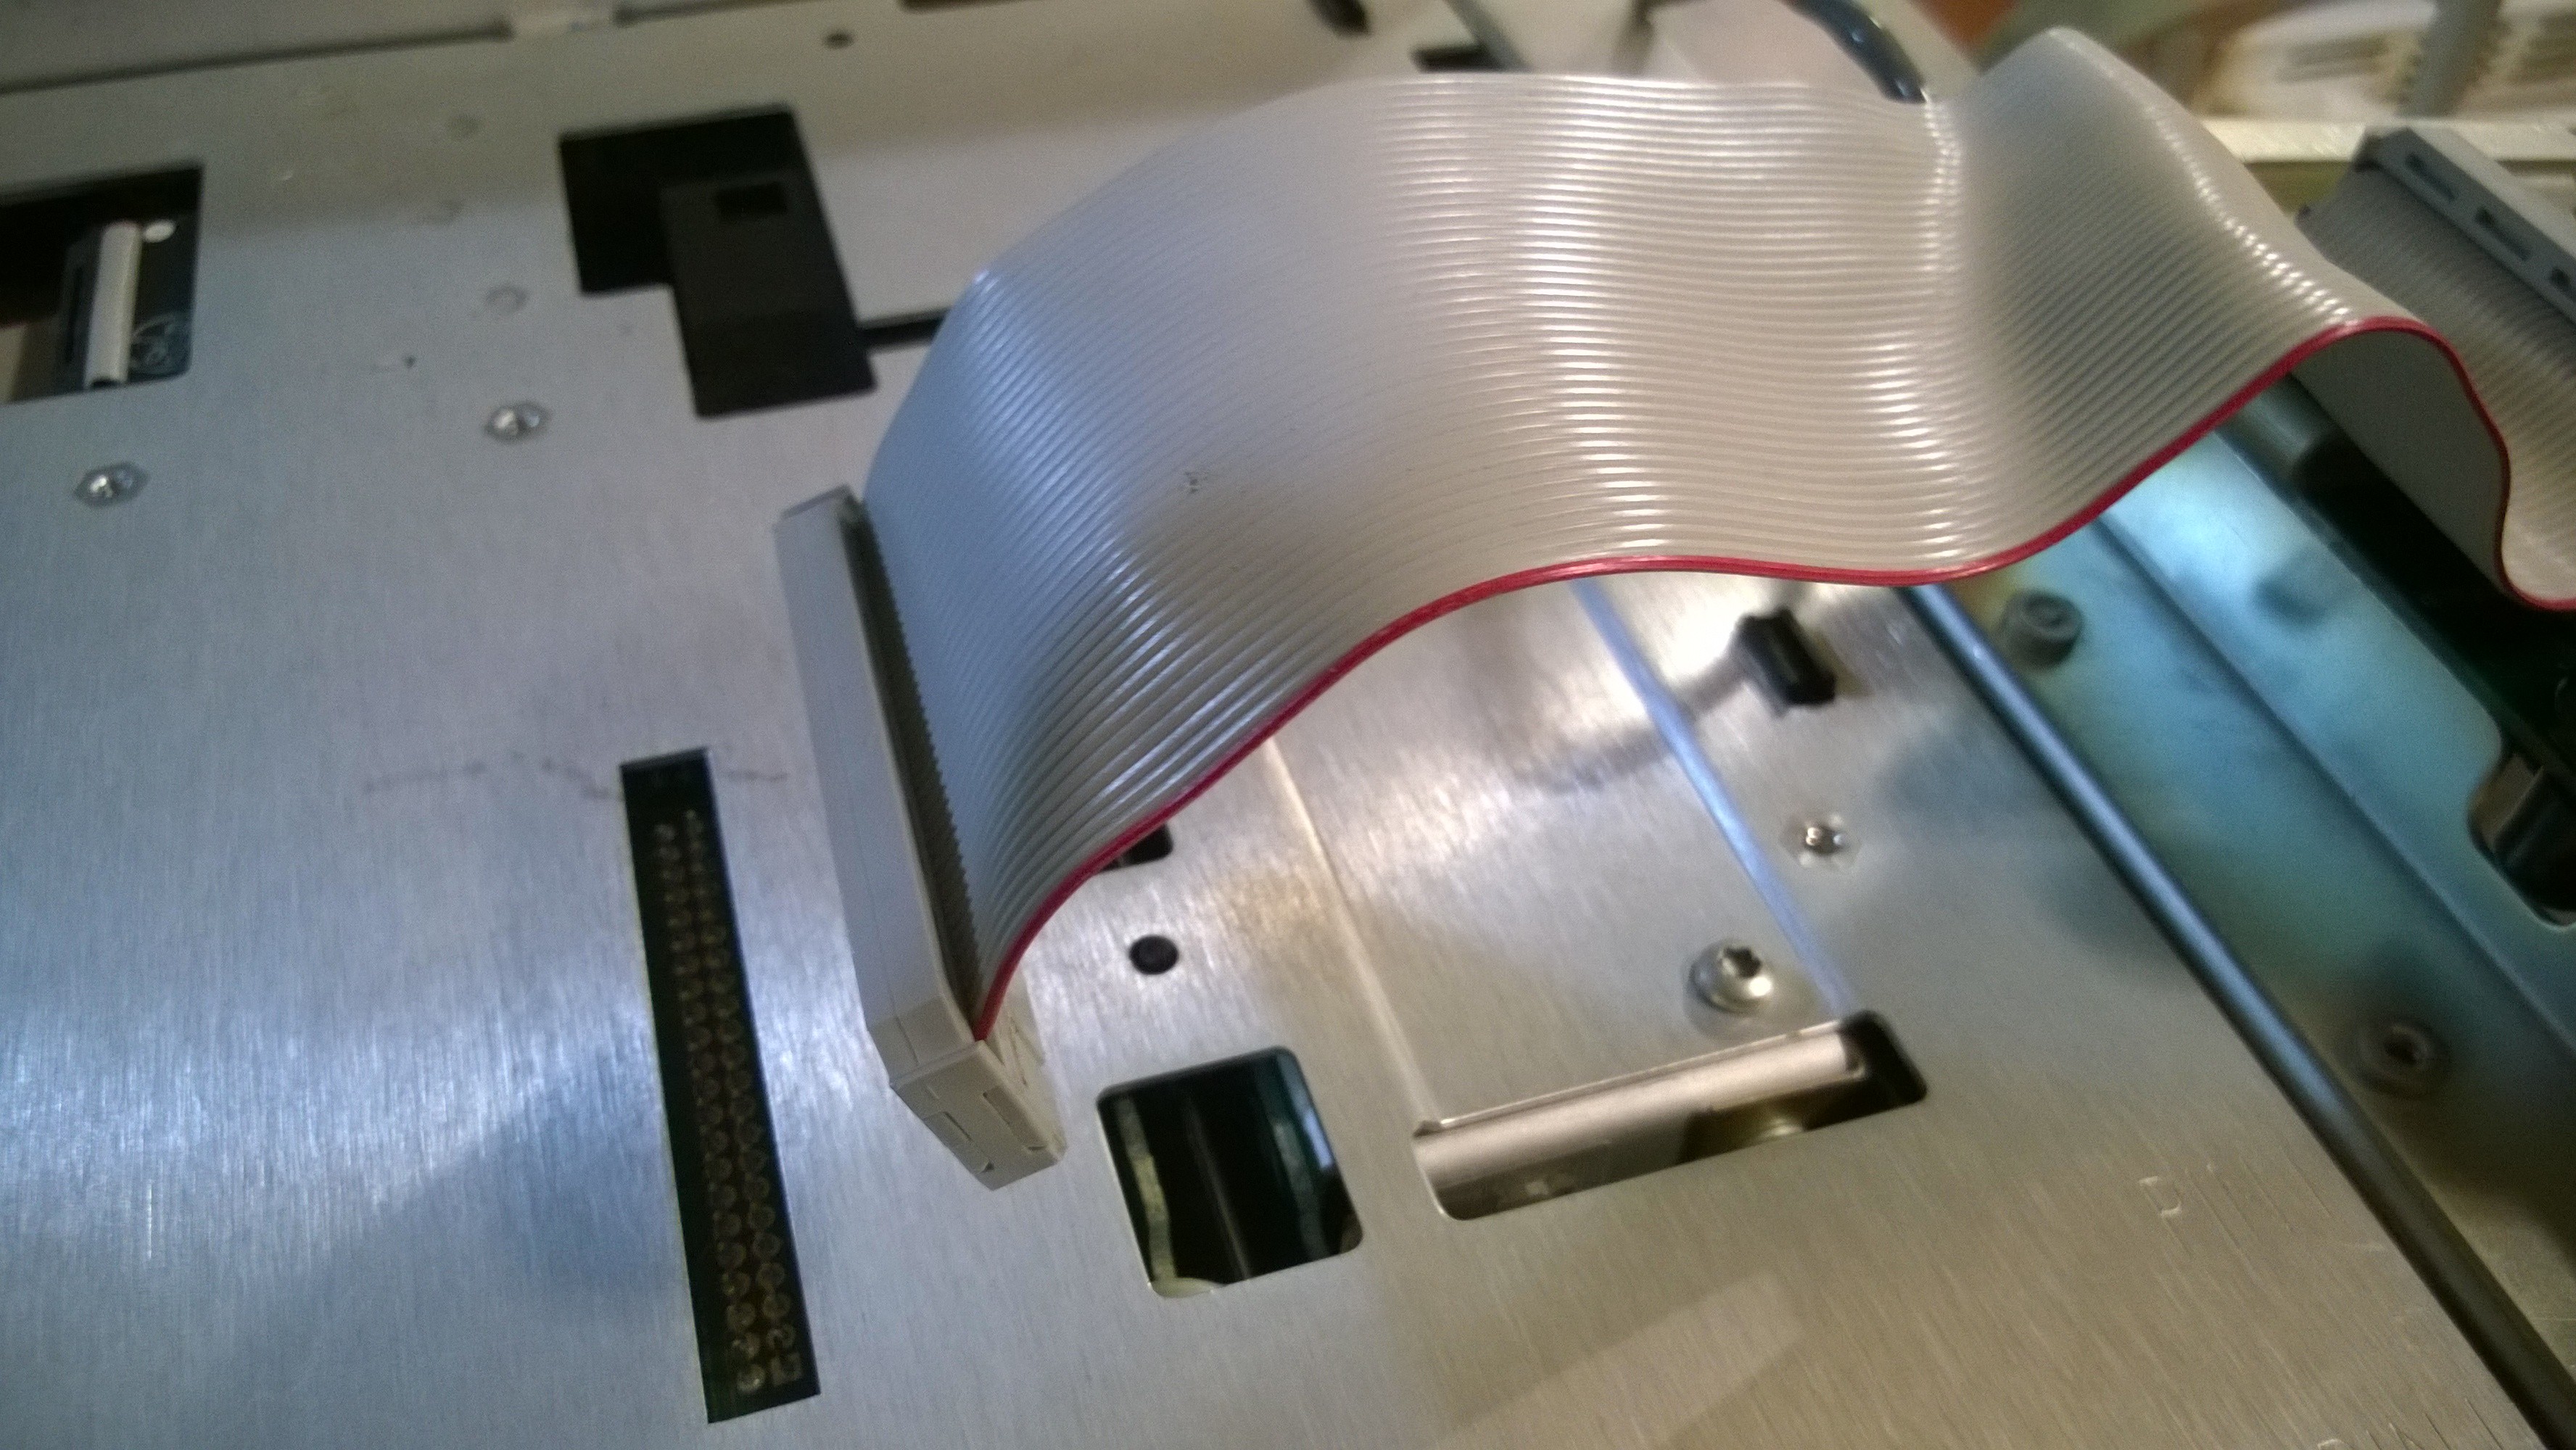
Remove ribbon cable from top plate.
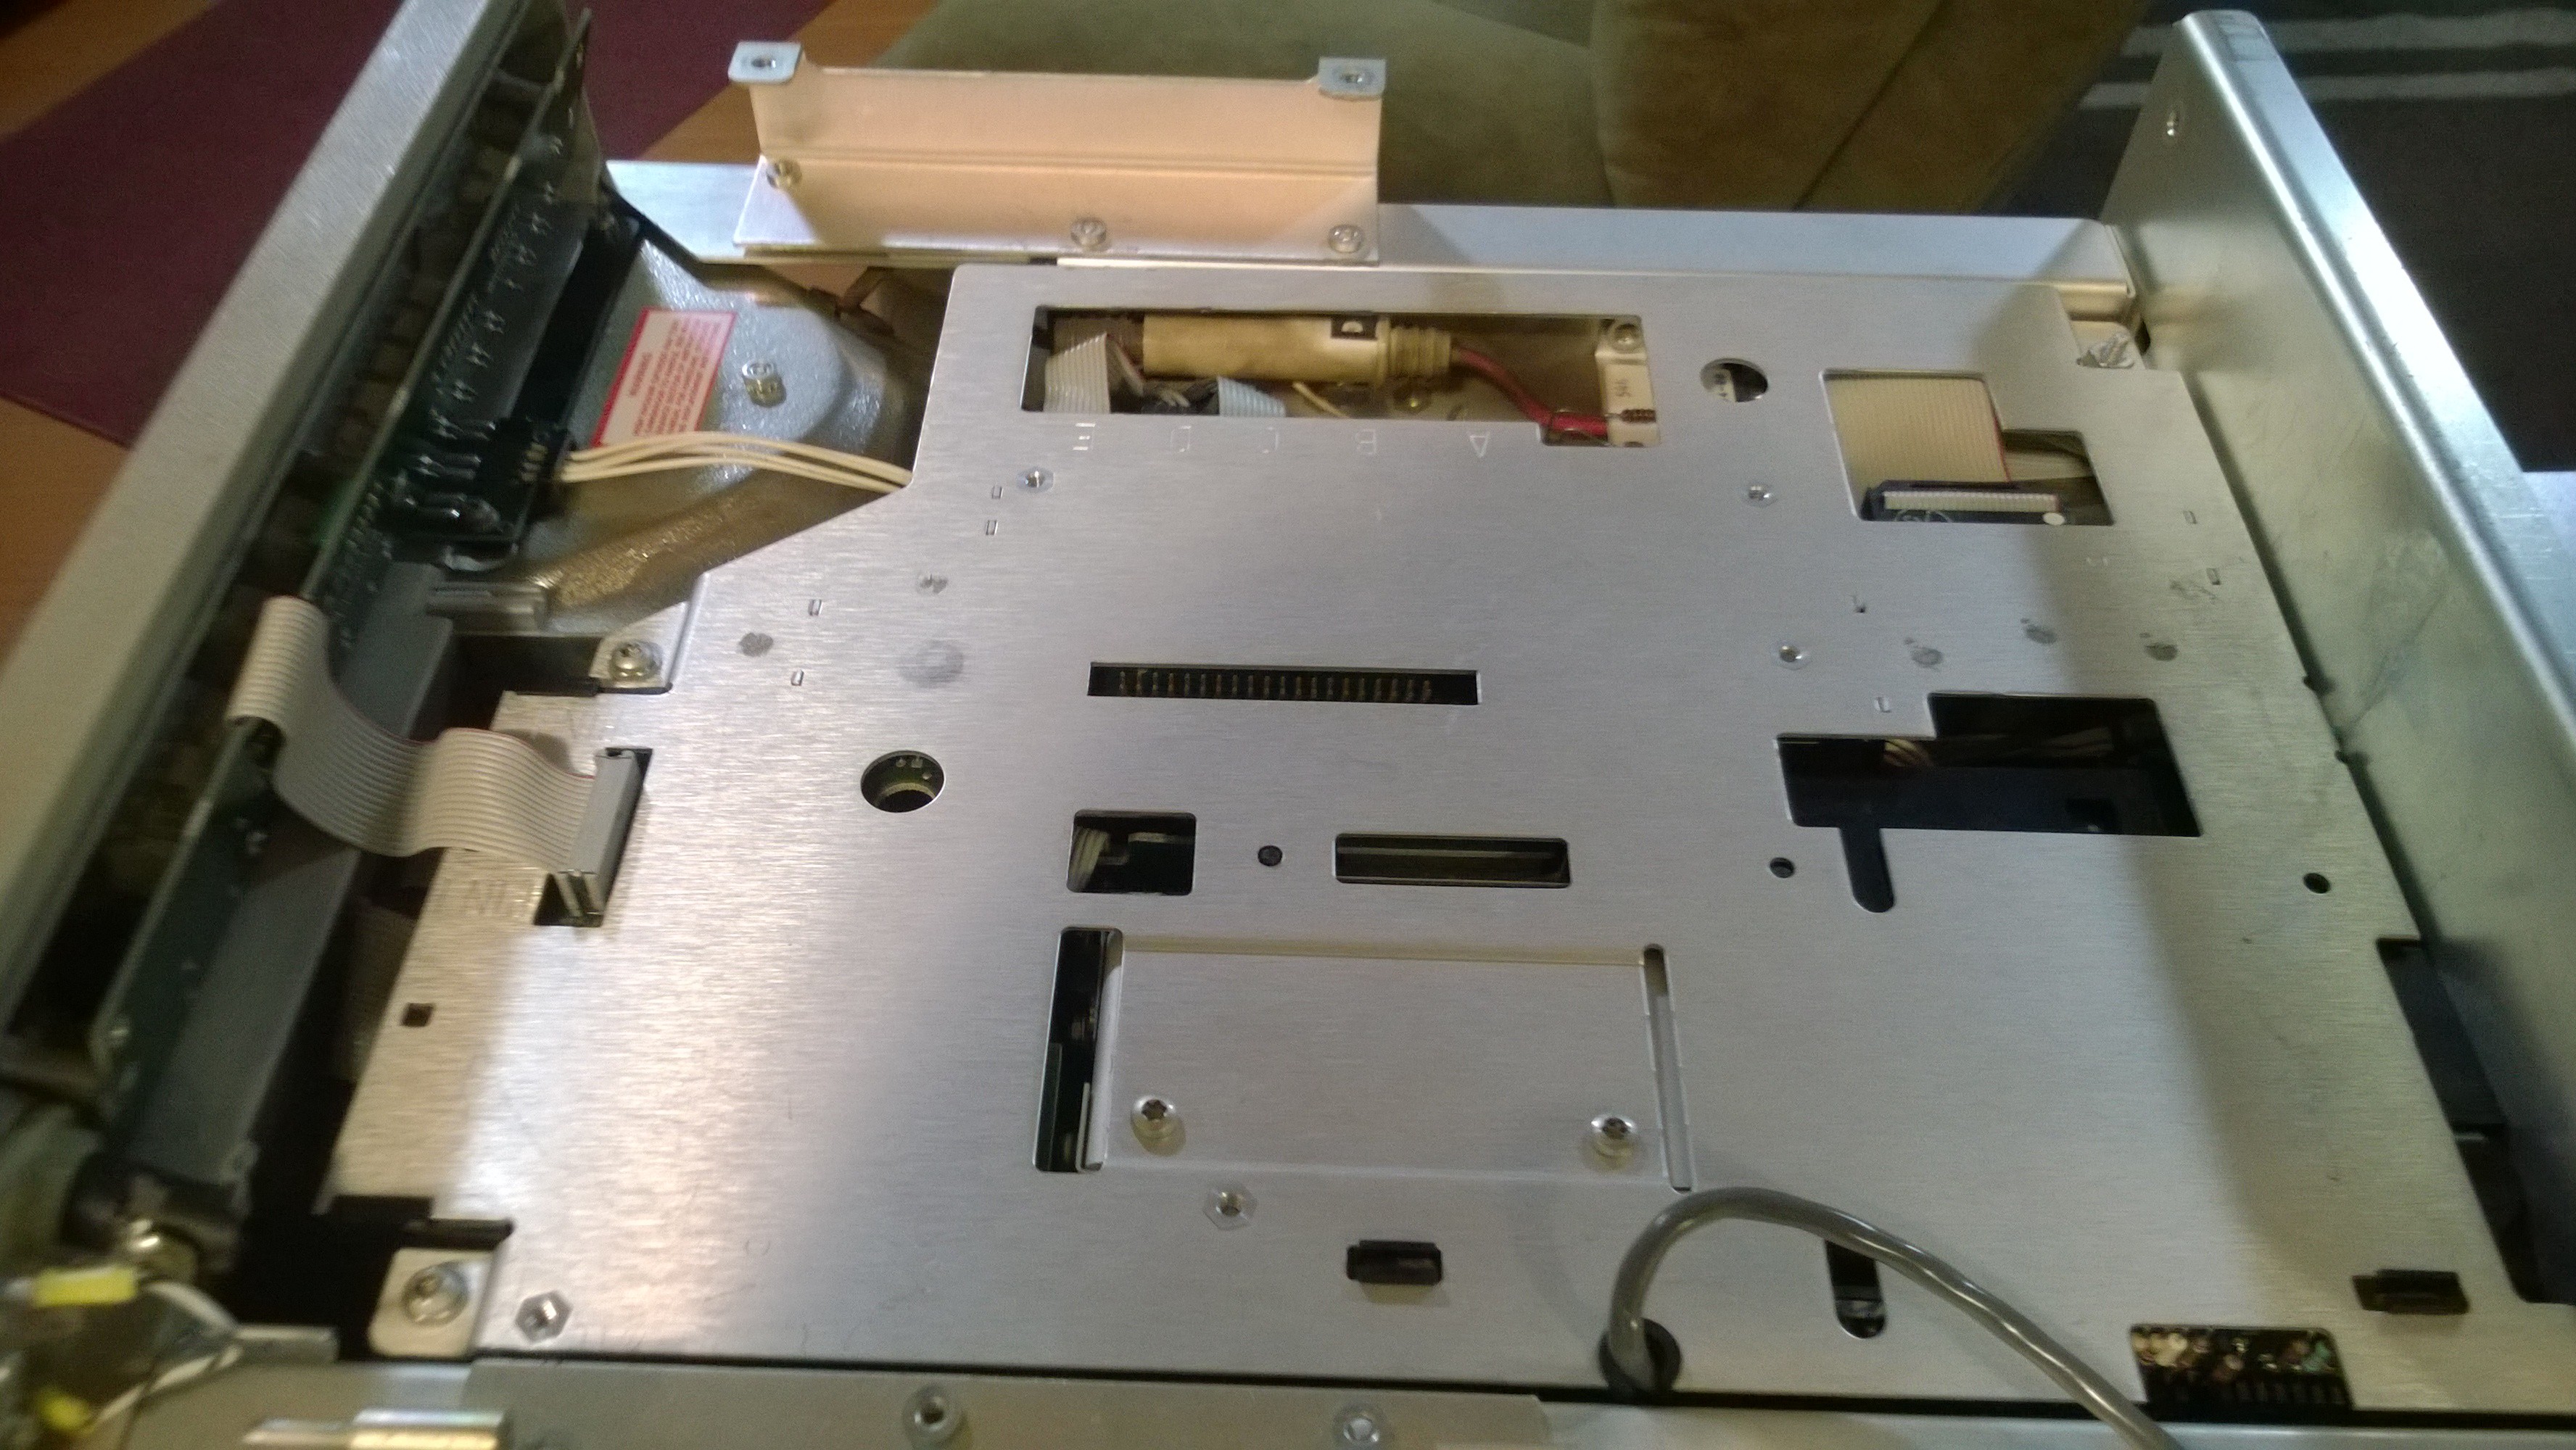
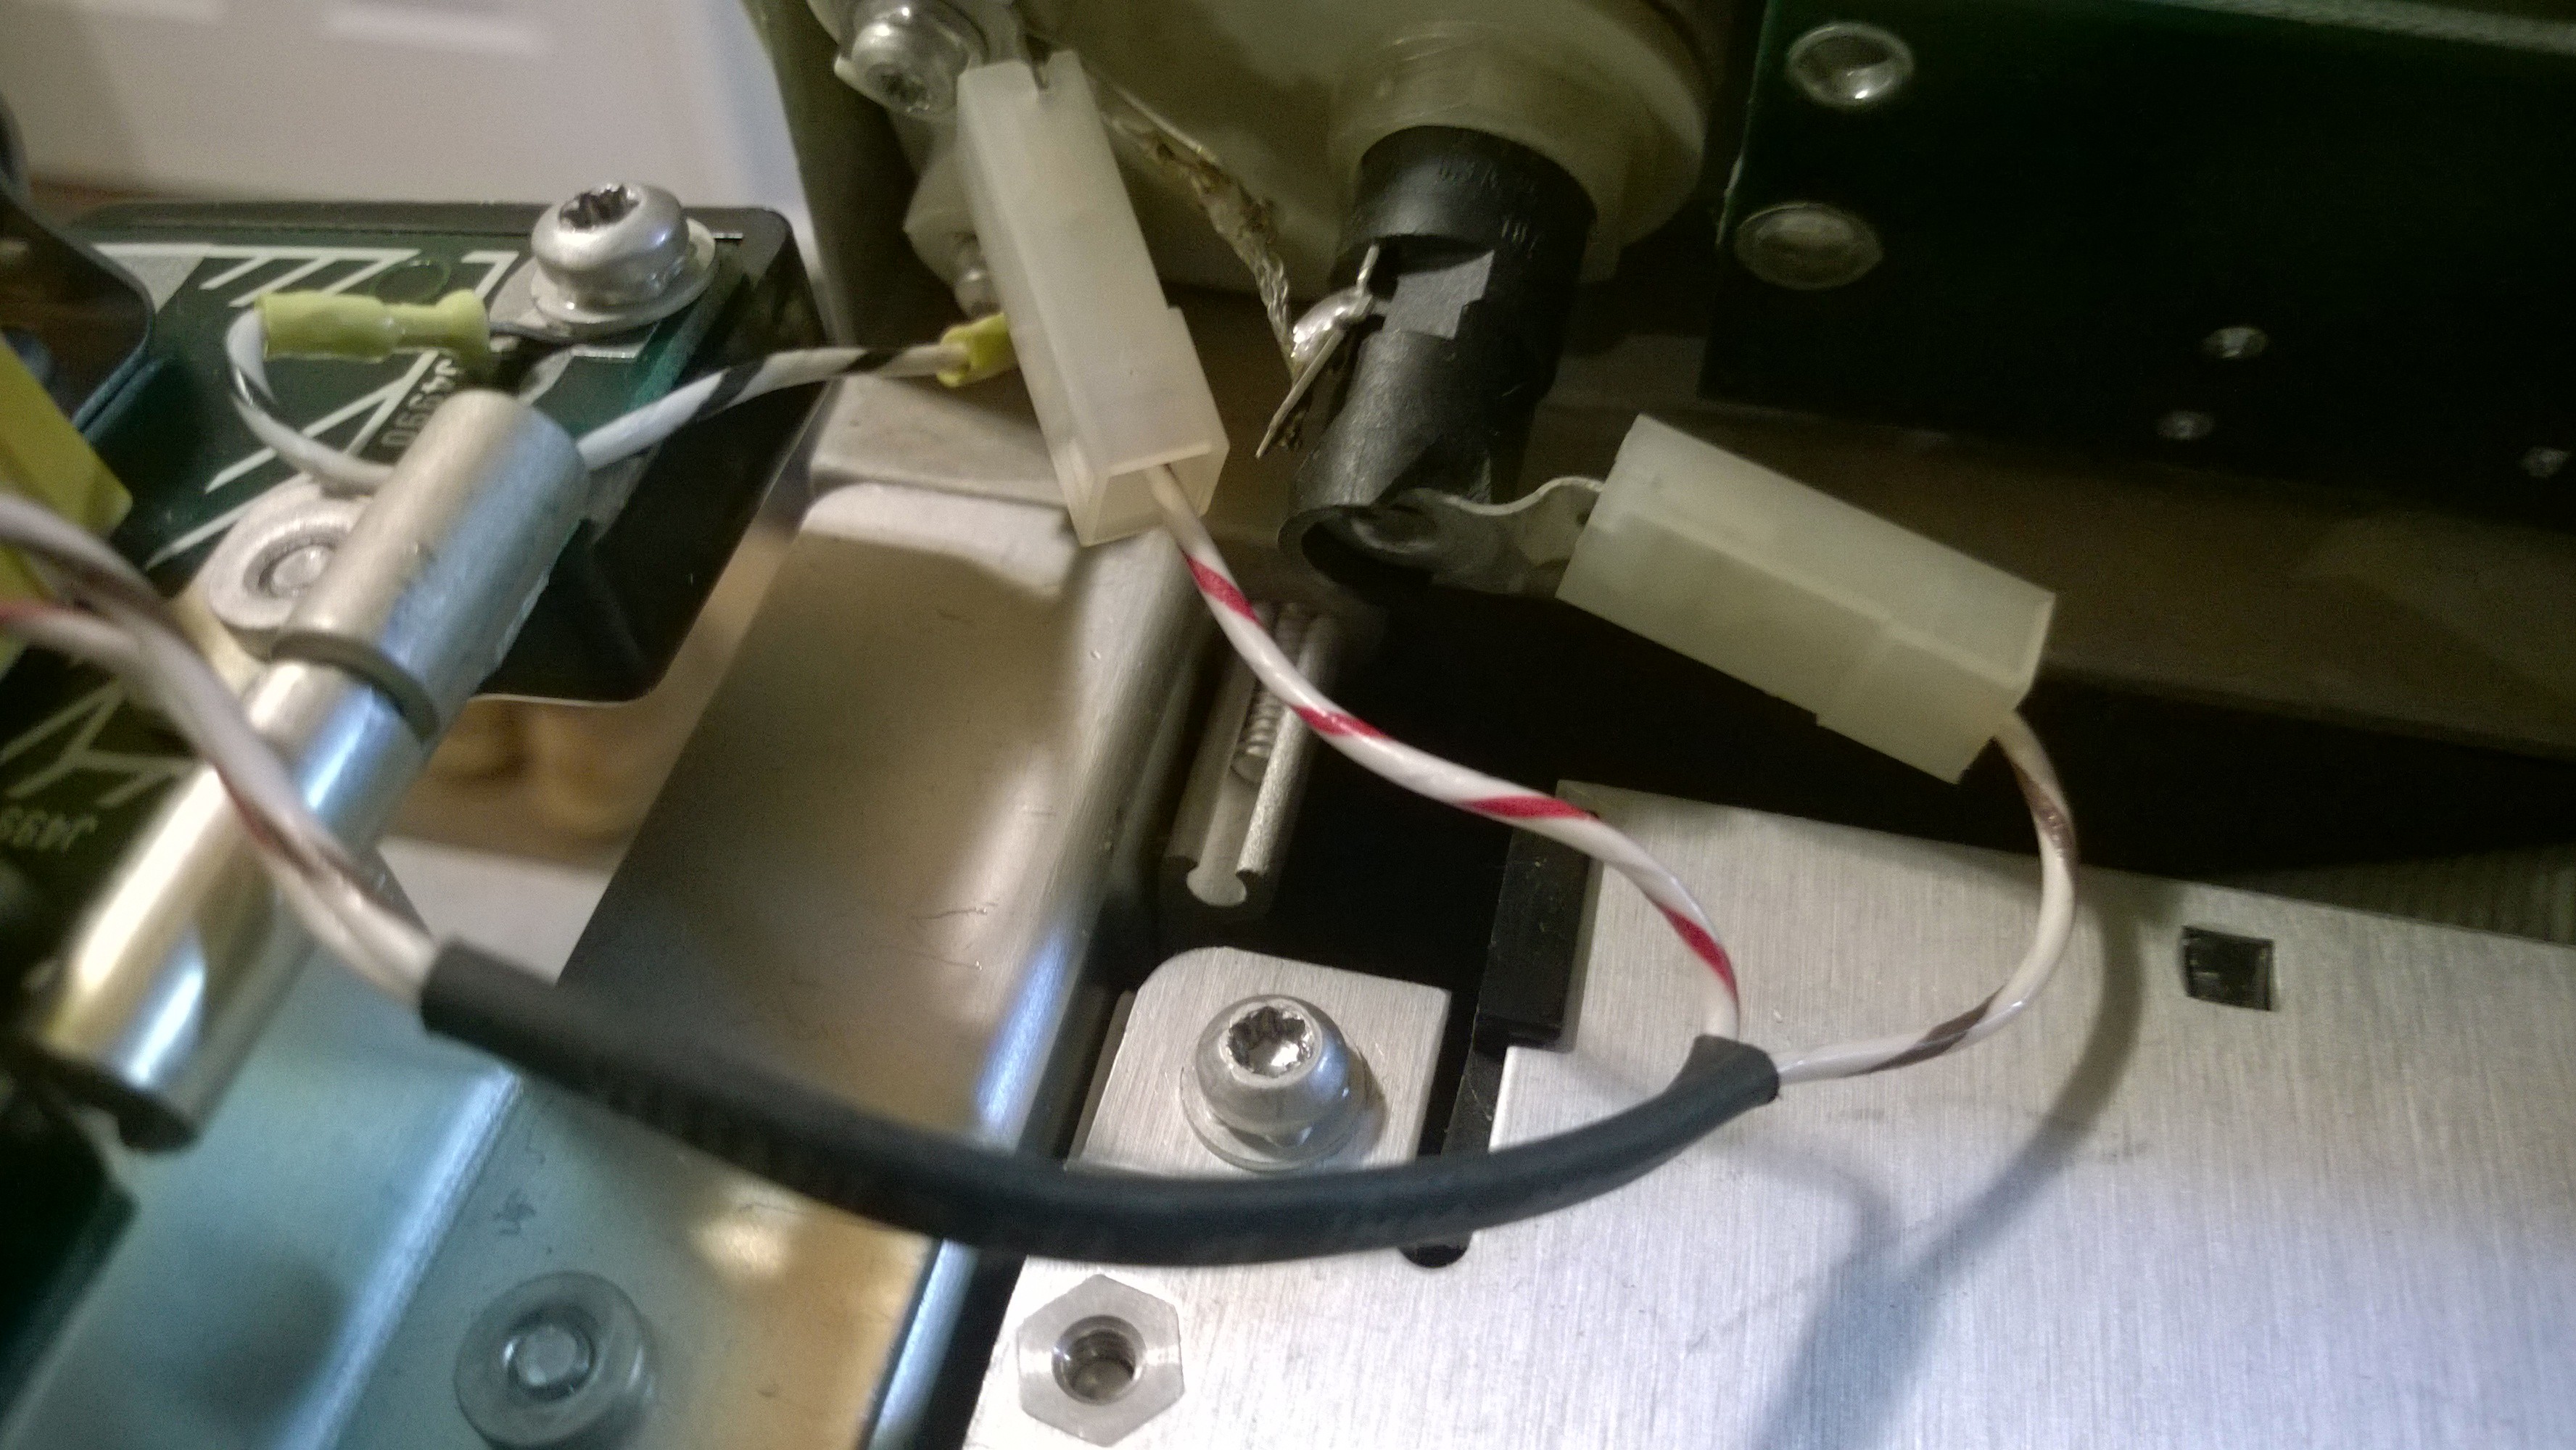
Pull connectors off front banana jacks. Unbolt ground wire from board. Now the DMM Board can be removed.
The top plate is now accessible. Looks innocent enough, doesn't it? The real fun is yet to begin in Part 2.