Continued

Right half of the daughter board.

Left half of the daughter board.

Top front showing the back of the decade switch circuit board and the back of the panel meter.

Top back with the huge heat sink and ribbon connection to the rear panel connections.

Rear connections for output, remote sense, remote voltage programming, remote current programming, case ground.

Frame sides removed for refinishing.

Refinish tool lineup clockwise from top right, fine grit sanding sponge, WD-40, fine flat file, sanding stick with 220 silicon carbide paper, magic wadding polish, Grey fine scotch brite. Fortunately these HP frames are just polished aluminum, not nickel plated like the Tektronix frame in
my scope restoration. Edges of frame are first filed for uniform edge radius and smooth corners. Then using the sanding stick kept wet with WD-40 the edges are all sanded keeping the lay of the sanding straight with the edges to a uniform sanded finish. Next the sanding sponge wet with WD-40 does wonders giving a very uniform texture to the aluminum again, keeping the lay of the sanding straight with the edges. Then a final polish with the magic wadding polish and a dunk in the ultrasonic cleaner.

I wanted to disassemble and clean and lube the decade switches but they have to be removed from the circuit board to take them apart. Fortunately they are just connected with a solder bridge/fillet between the boards. Here is the board with all the solder removed with solder wick. I find solder wick works even better when you wet the section you are using with more liquid flux before use.

This is the back of a decade section showing removing the heat staked plastic edges that hold the circuit board in place with a small chisel.

Here are the internals of one of the decades the gold was in perfect shape but had caked and dried lubricant on it. I wiped it and the wipers clean with IPA followed by a scub with Deoxit D100L then a rubbed in application of Deoxit G100L.

All these parts went into the ultrasonic and then were rubbed down with ArmorAll to renew and lube the plastic. There are two holes in the back that you can put a “U” shaped piece of wire into to hold the detent arms back while you insert the number wheel. Very fiddly bits that like to explode out of the case when least expected.

All of the number wheels wiped clean and looked like new just using a dry Kim wipe, until this one where half the zero wiped off.
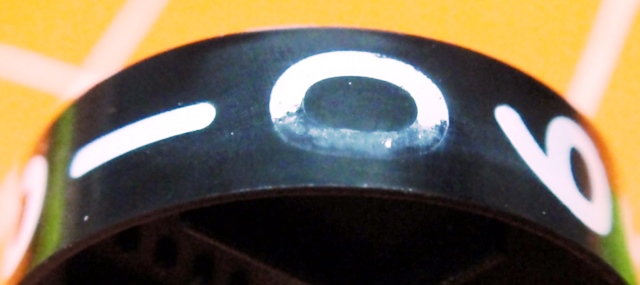
So under the microscope with a bamboo skewer sharpened to a point to us as a fine paint brush and some white acrylic craft paint. Not perfect but at normal viewing distance no one will notice. Fortunately that was the only occurrence.

Decade stack back together and held with two bands of Kapton tape about 3 layers deep each. The original was held with a woven tape much like a heavy medical tape. Because I cut off all the plastic heat staking that held the circuit boards in place. I had to put several layers of tape on the back of each circuit board in strategic places/thickness to have the mating switch body press the circuit boards down tight when assembled.

All the solder bridges/fillets redone.

Example of the plastic oxidation from whatever was in the air or lighting. That matte chordal shaped area is what is exposed when the meter is assembled.

The graphic panel was originally contact cemented down and held by the pot nut. I used two strips of thin double stick tape for the restore.

Lifting the bezel ears allowed removal to get to the clear part.

Removing one clear “U” clip at the top of the meter allowed the clear part to just fold right off the back. I just did a light polish with Meguires plastic polish on a felt pad to remove the light haze on the lens. A final polish with a Kim wipe both outside and inside left it perfectly clear. Be very careful about what you polish with. Most general paper products (toilet paper, paper towels, etc.) will scratch very fine soft surfaces. Kim wipes are designed to be totally nonabrasive and lint free on optical surfaces. That is why I use them for this. A microfiber towel may also be used.

About 8 hours FUN to go from surplus store condition to fresh off the HP assembly line. Calibration and testing next.


