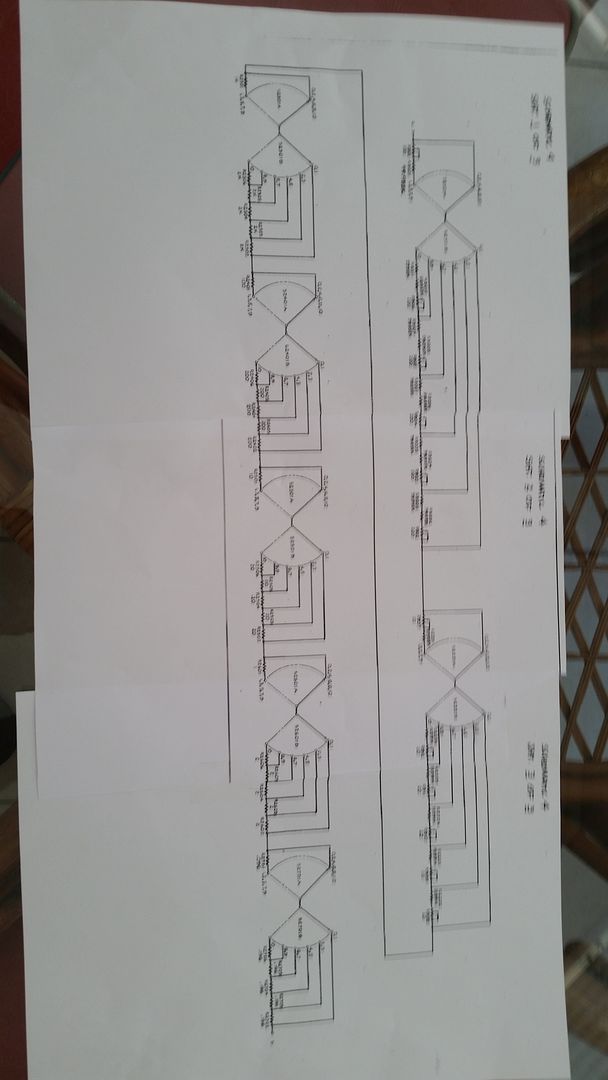
Success with string adjustment. Had to print out the string schematic, piece it together and go through it slowly. Read and re-read the US Army instructions. Concluded that it can be done with a DMM.
The schematic is here. It is fuzzy (non-steady hands) but the original is free to download from Fluke even to this day 50 years later. If someone has a paper original I would appreciate a high rez scan.

Here is my procedure:
1. Set range for 1000V.
2. Set decade 1 for 10, all other decades set to 0.
3. Set output on
4. Adjust 1000V range pot for as close to 1000.000 as possible. This pot is difficult to make any better than +/- 5 ppm on my 332A.
5. Set output off
6. Set decade 1 for 1. All other decades are 0.
7. Adjust pot R901 for a reading of 100.0000.
9. Change the first decade dial to 2. Adjust pot R902 for a reading of 200.0000. This may cause full scale voltage to be over/under 1000.000. Re-adjust 1000V calibration pot for an output of 1000.000 with first decade dial at 10. Full scale output is the addition of settings 2, 4, 6, 8 and 10 resistors. Adjusting any of the even decade dial setting pots will change the full-scale output.
10. Repeat step 9 until 200V and 1000V are as close to perfect as possible.
11. Set first decade dial to 3. Check that output is 300.0000. You cannot adjust this output. The output is the sum of the 100V setting and the 200V setting.
12. The dial 1 position and dial 2 position are the foundation of all of the rest of the settings of this decade. You may want to start at the beginning and go over all of the steps to insure that 100.0000V, 200.0000V and 1000.000V are all as close to perfect as you can make them.
13. Change the first decade dial to 4. Adjust pot R904 for a reading of 400.0000. This may cause full scale voltage to be over/under 1000.000V. Re-adjust 1000V calibration pot for an output of 1000.000 with first decade dial at 10. Full scale output is the addition of settings 2, 4, 6, 8 and 10 resistors. . Adjusting any of the even decade dial setting pots will change the full-scale output.
Continue through the first decade pot adjustments until you finish up at 1000.000V.
Verify that you have outputs of 100.0000, 200.0000, 300.0000, 400.0000, 500.0000, 600.0000, 700.0000, 800.0000, 900.0000 and 1000.000 for the dial setting 1 through 10 of the first decade dial.
Move on to the second decade dial. Set the first decade to 0 and decades 3 through 7 to zero as well. Use the same process as above to set output voltages of 10.00000, 20.00000, 30.00000, 40.00000, 50.00000, 60.00000, 70.00000, 80.00000, 90.00000 and 100.00000. You will NOT be adjusting the range calibration pots in these steps.
All of the settings of all of the dials of my 332A are proportional and result in less than 10ppm error. For the first 6 digits, the output is exactly what you set it to. The 7th digit is set to zero and the reading on the DMM for the seventh digit is the uncertainty. ppm error is the 7th digit reading divided by the 332A setting.
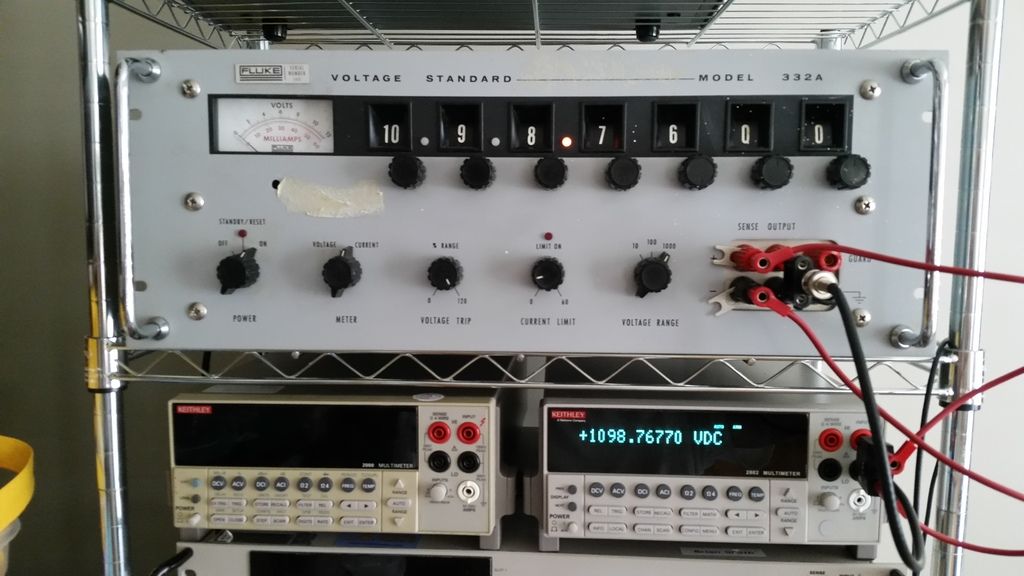
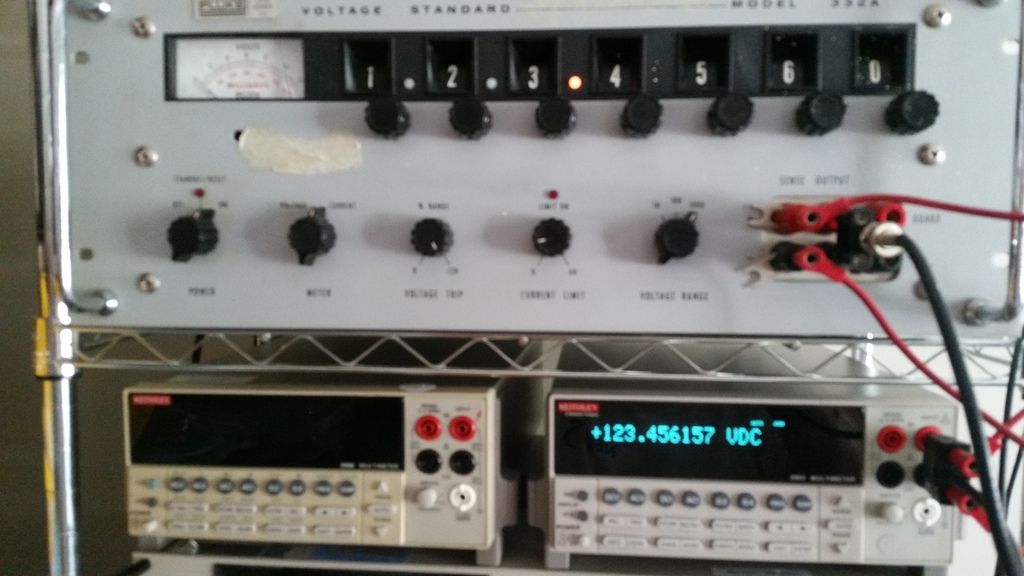
Here are two examples
1098.76V, The 0.001 volt digit is the uncertainty. About 7 ppm here

123.456V The 0.0001 volt digit is the ppm error. About 1 ppm here

The 7th digit of the 2002 is stable for this cabling setup. Digits 8 and 9 are pretty much noise.
This process required a bit over two hours to accomplish not including instrument warm up. The 332A seems to require at least two hours to warm up. Very good stability after four hours.